Onboarding Guide
This step-by-step guide will help you set up your first SpaceDF organization, add devices, and start tracking your assets.
1. Create Your Account
To get started, create a free account using your email, name, and password. You can also sign up quickly with your Google or Apple account.
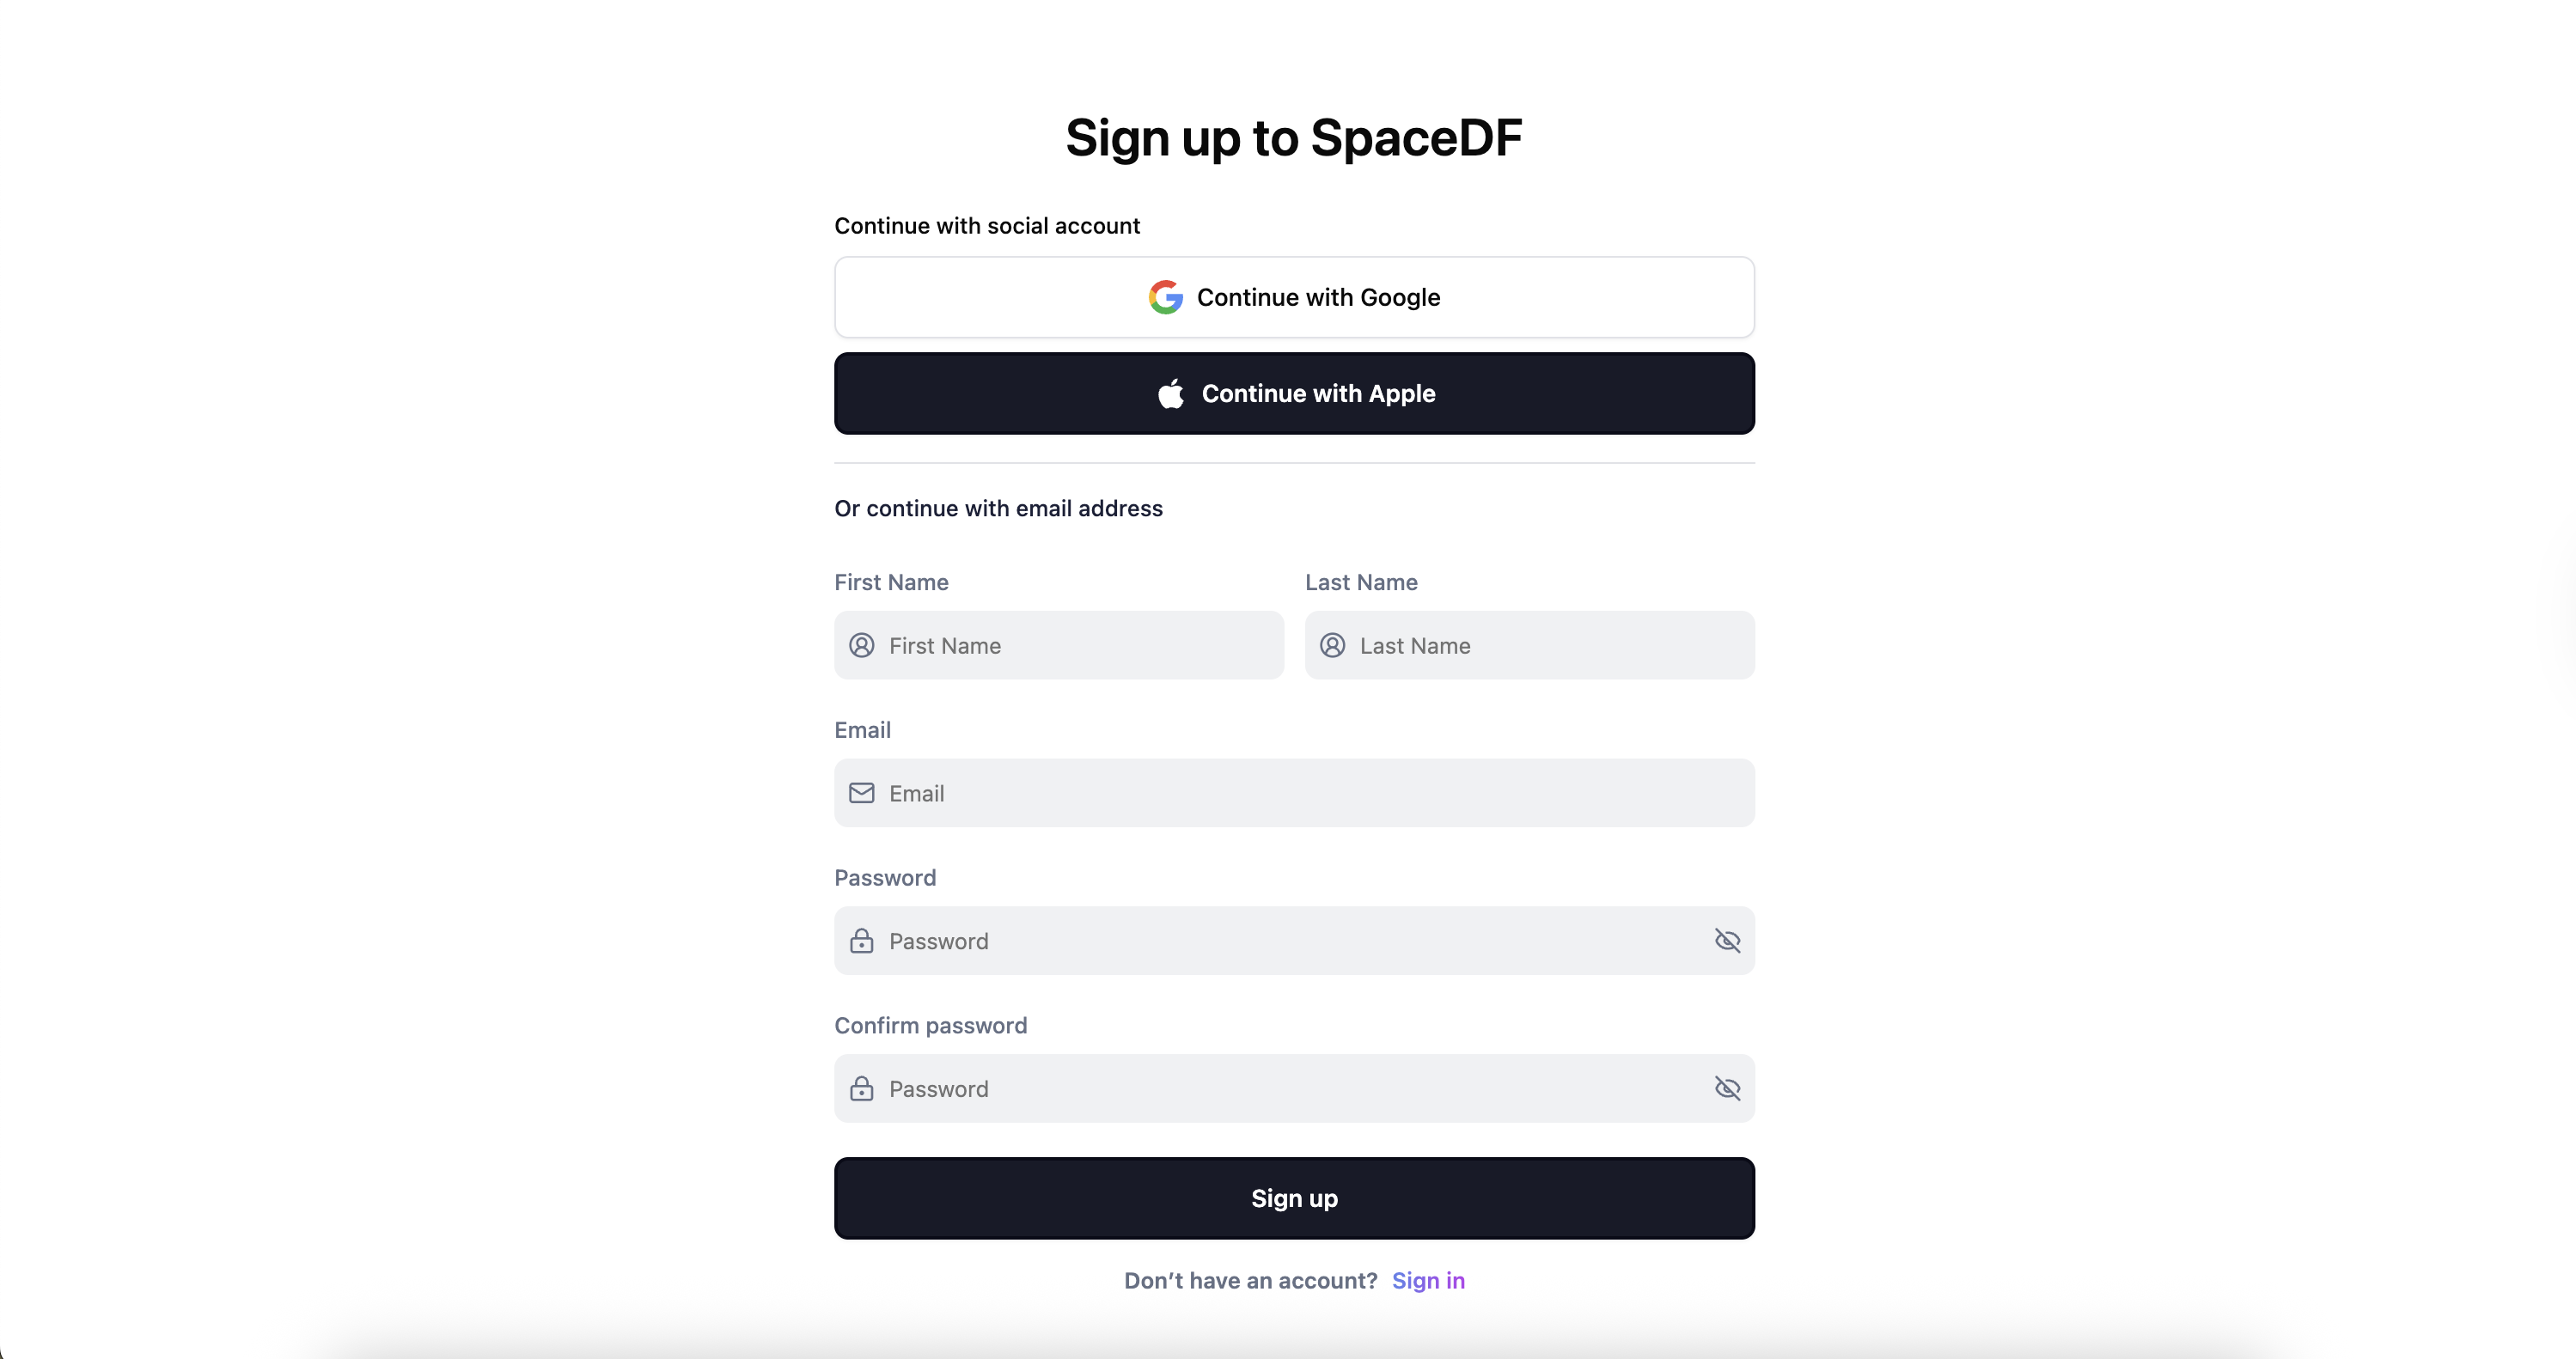
This will be for the Admin - this login will have permissions to perform operations in the account.
Once you create your SpaceDF account, your workspace will be generated automatically. From here, you can manage and view all your organizations in one place.
2. Create Your First Organization
An organization acts as the main container for your locations, devices, and users, helping you manage everything in a structured way.
Steps:
- Add a New Organization: Click the “Add Organization” button in your workspace
- Fill in Required Information:
- Organization Name: Enter your organization name
- Organization Slug Name: Auto-generated (unchangeable after creation)
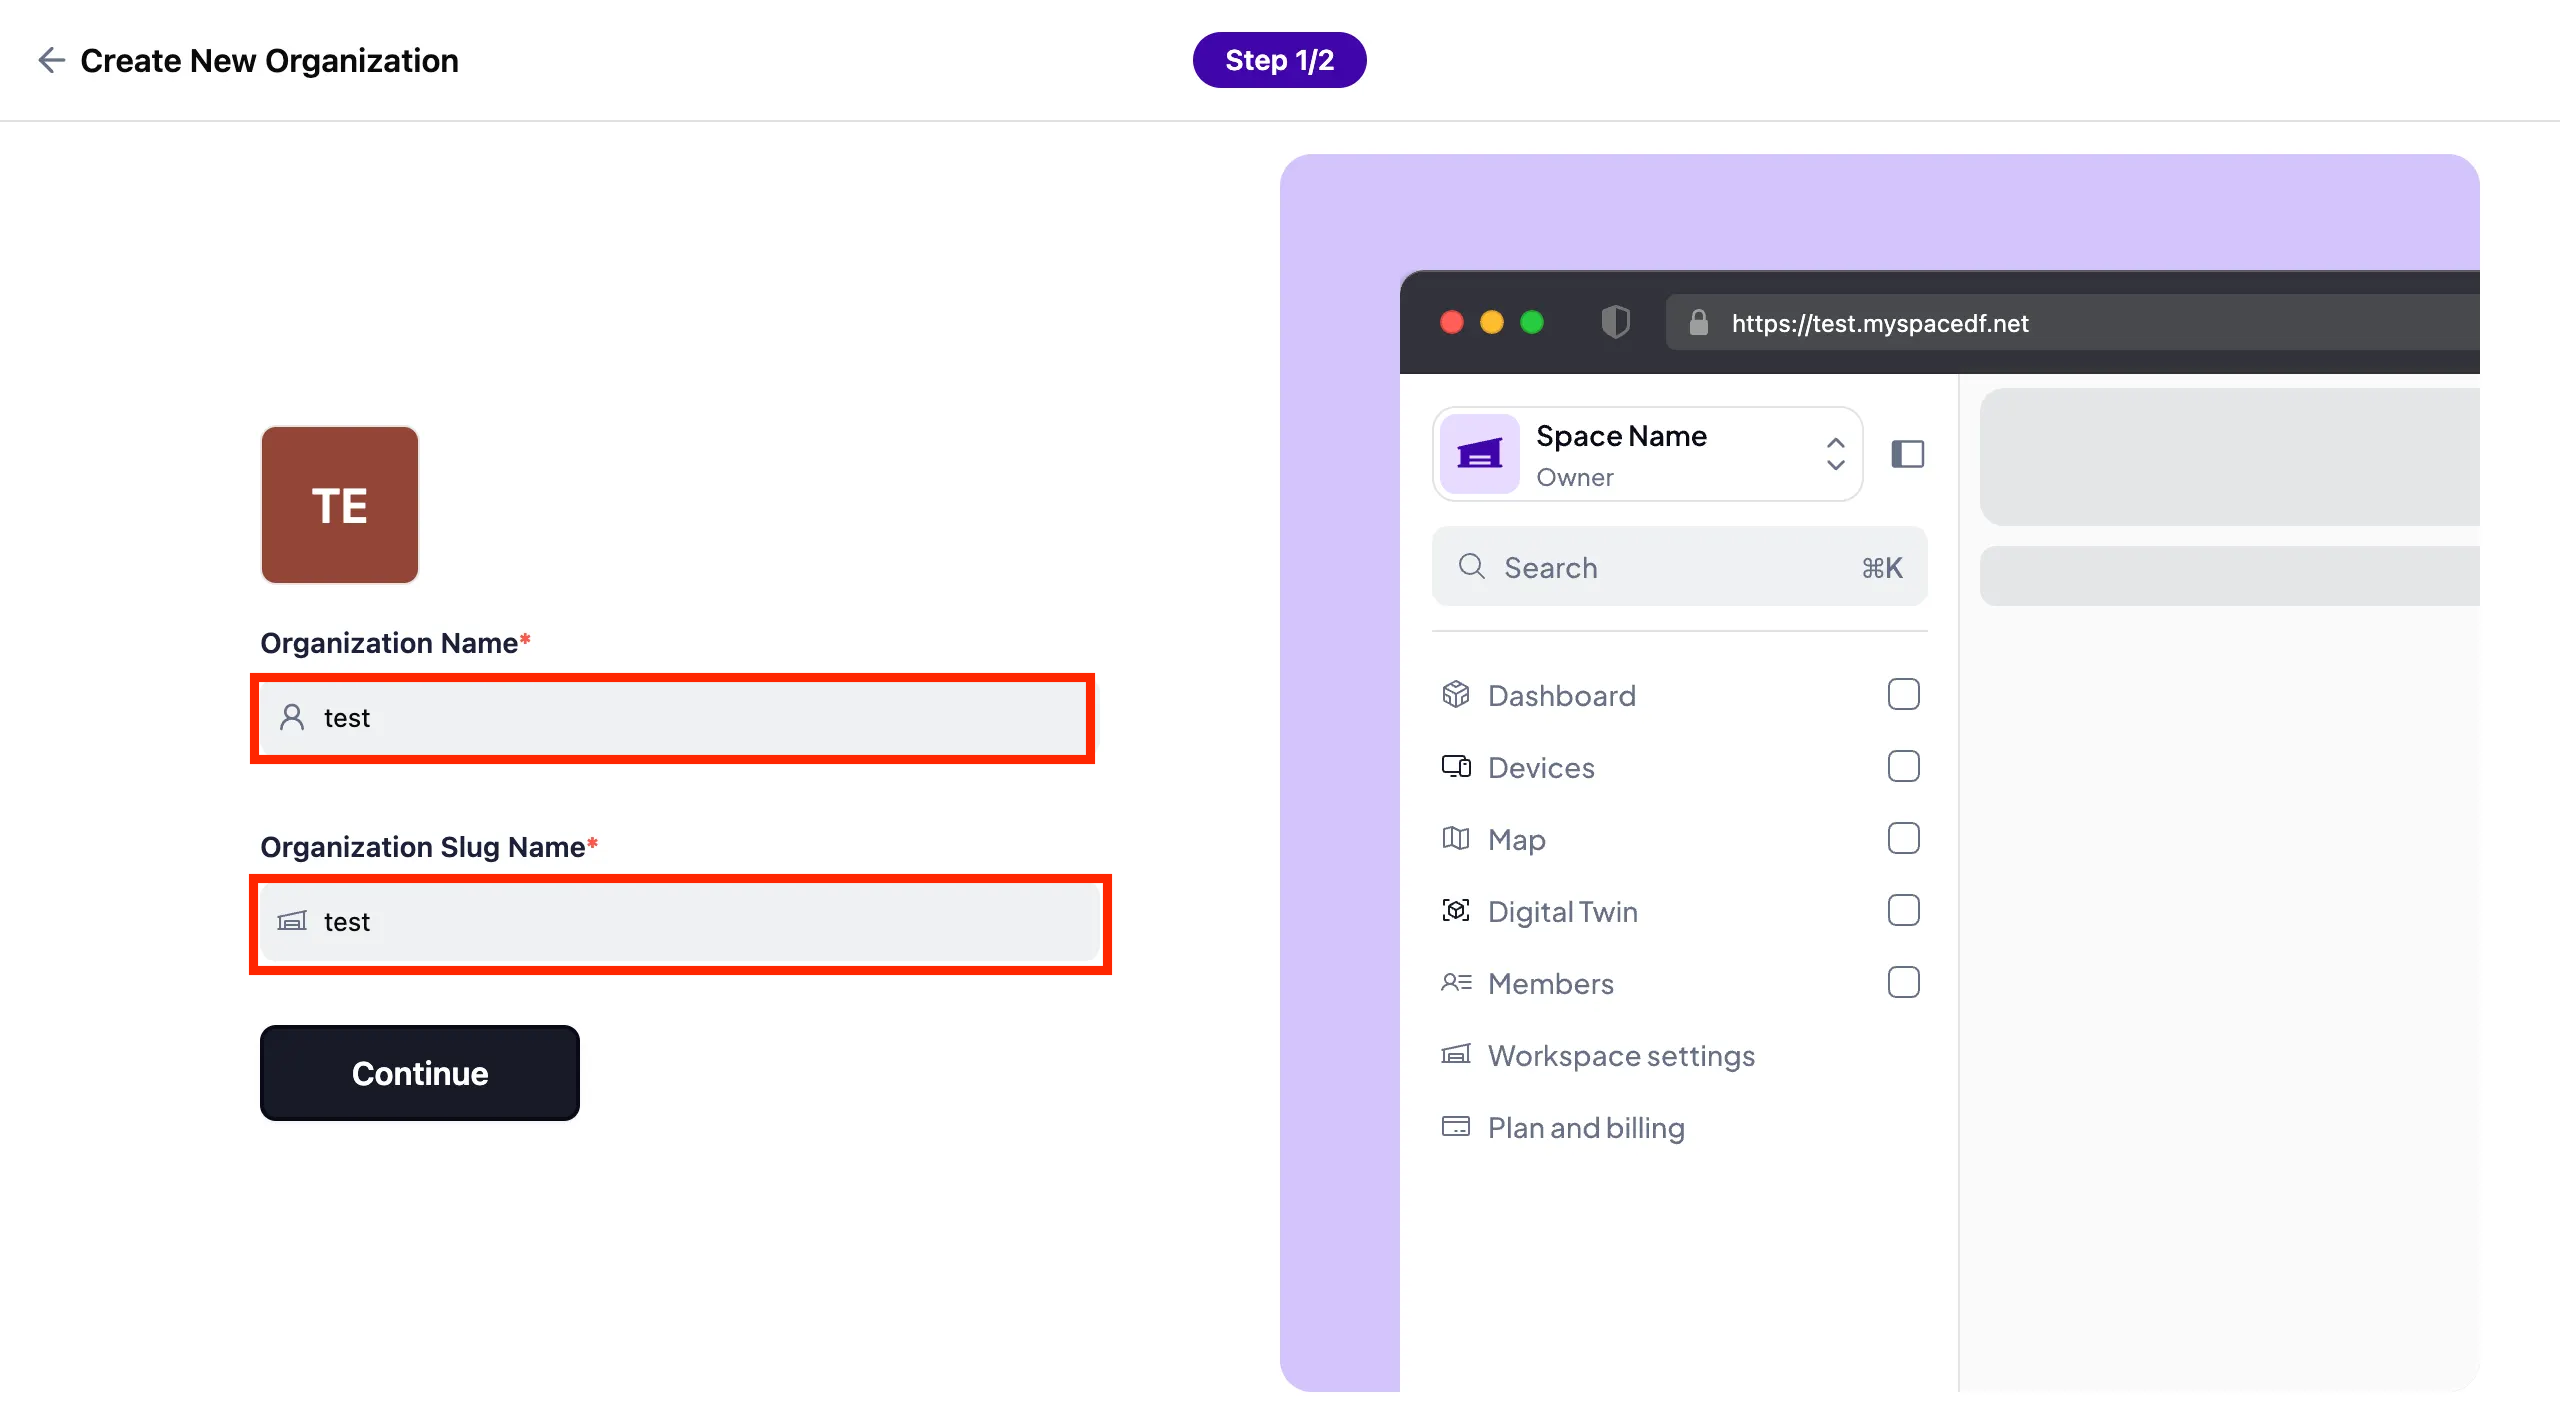
- Choose a Template: Select from SpaceDF’s ready-to-use template library
- Wait for Setup: Your organization will be created in a few seconds

3. Add Devices to Device Hub
After creating your organization, you can begin adding devices. In Beta stage, SpaceDF offers up to 50 devices for free.
Device Adding Methods:
Add single devices manually with DevEUI, JoinEUI, and App Key
Manual EntryBulk import multiple devices using CSV file format
CSV ImportScan device QR codes for quick registration (coming soon)
QR Code ScanManual Device Entry
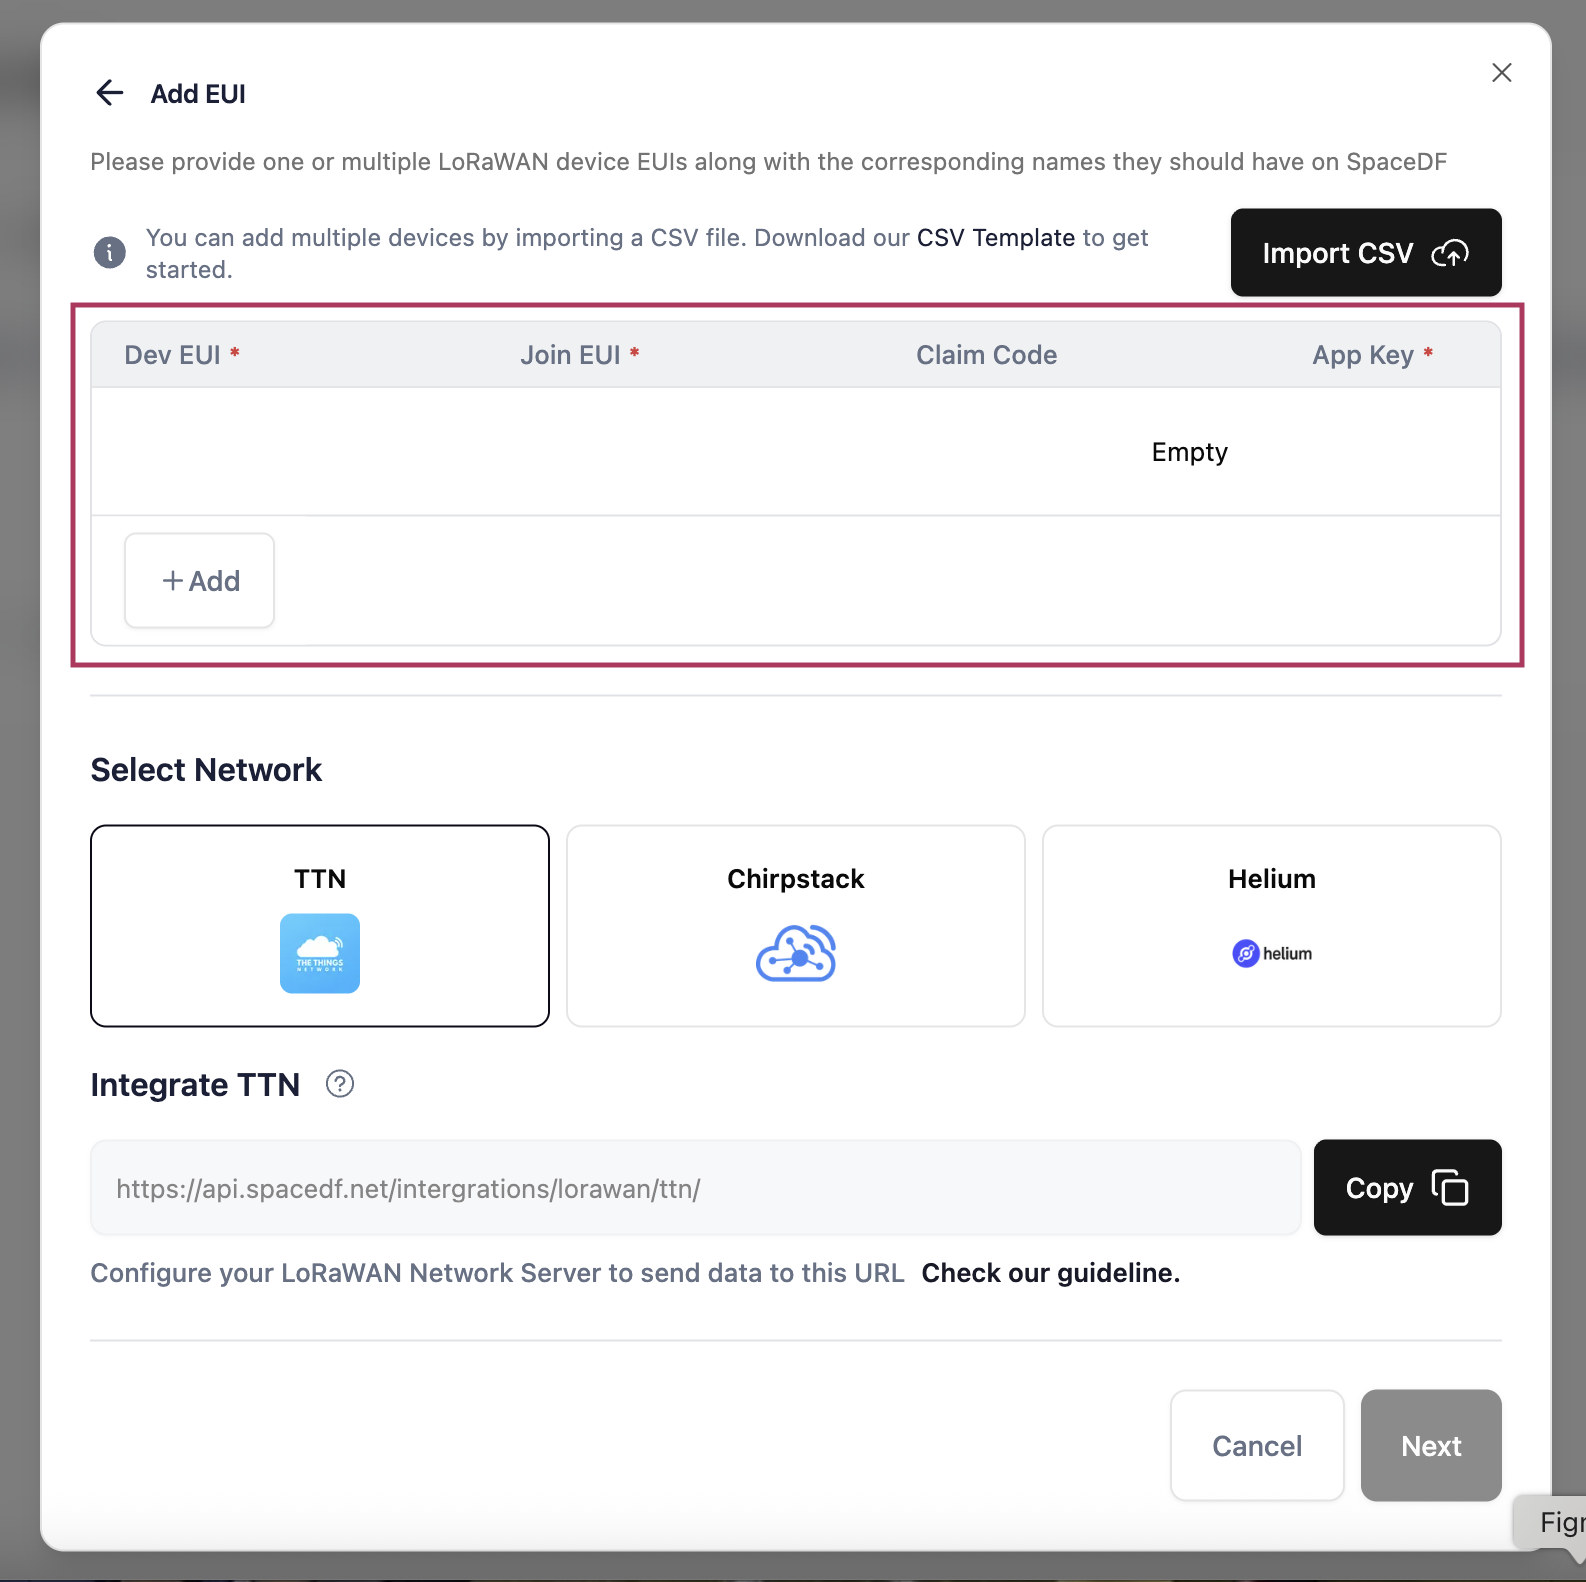
For adding single devices:
-
Choose Manual Option: Select device brand and click Next
-
Select Device Model: Select the device model that matches your hardware to ensure correct setup and data handling.
-
Fill Device Information: Enter required fields:
- DevEUI: Device unique identifier
- JoinEUI: Join server identifier
- App Key: Application key for authentication
-
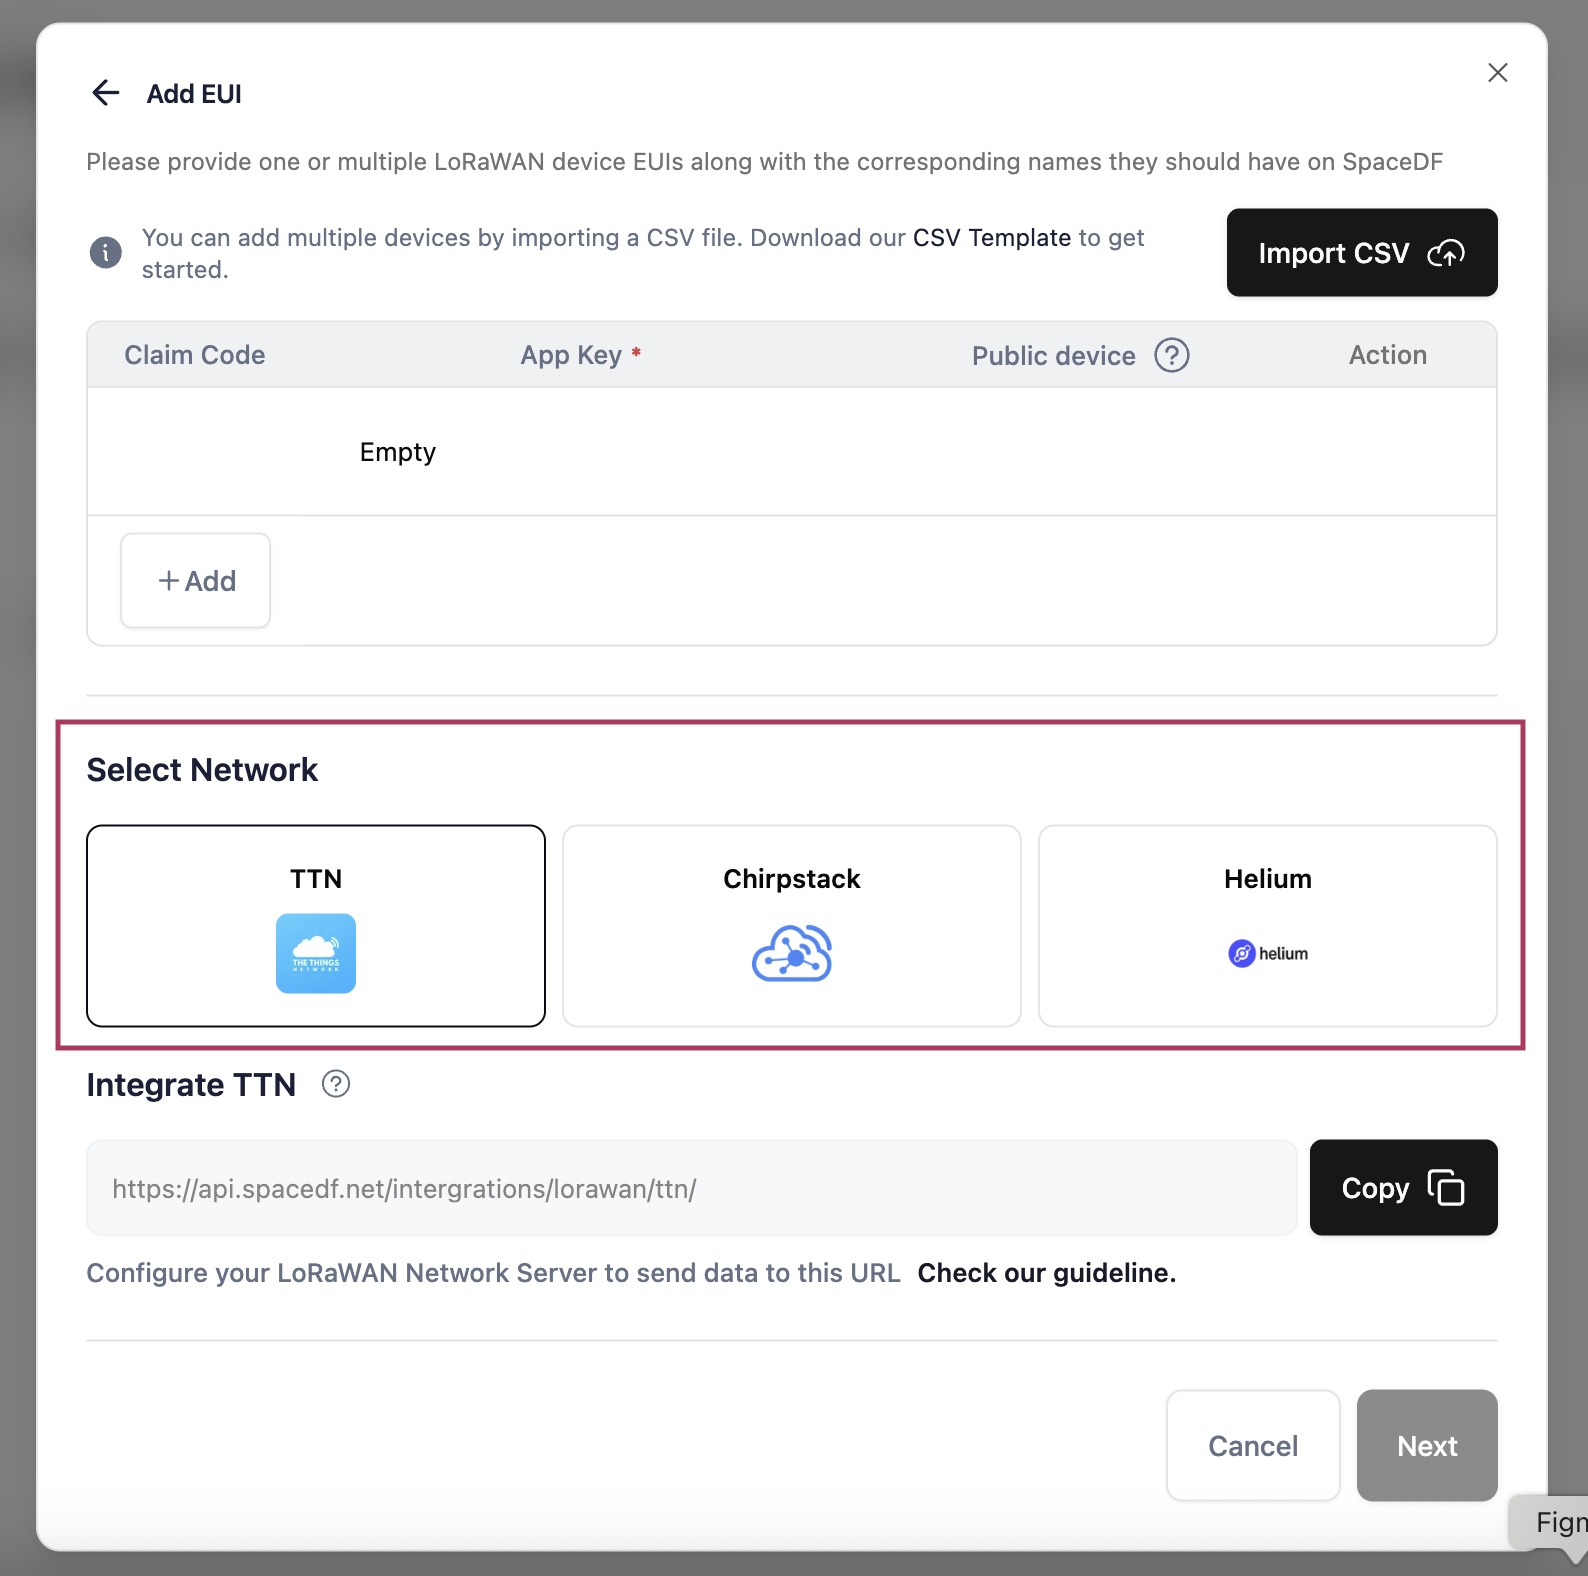
Enable Public State (optional): Make device visible to all organization users
-
Select Network: Choose TTN, ChirpStack, or Helium
-
Complete Setup: Click Next and wait for device to be added to Inventory
CSV Import for Multiple Devices
For bulk device registration:
- Choose CSV Import: Select device brand and continue
- Download Template (if needed): Use our pre-formatted CSV template
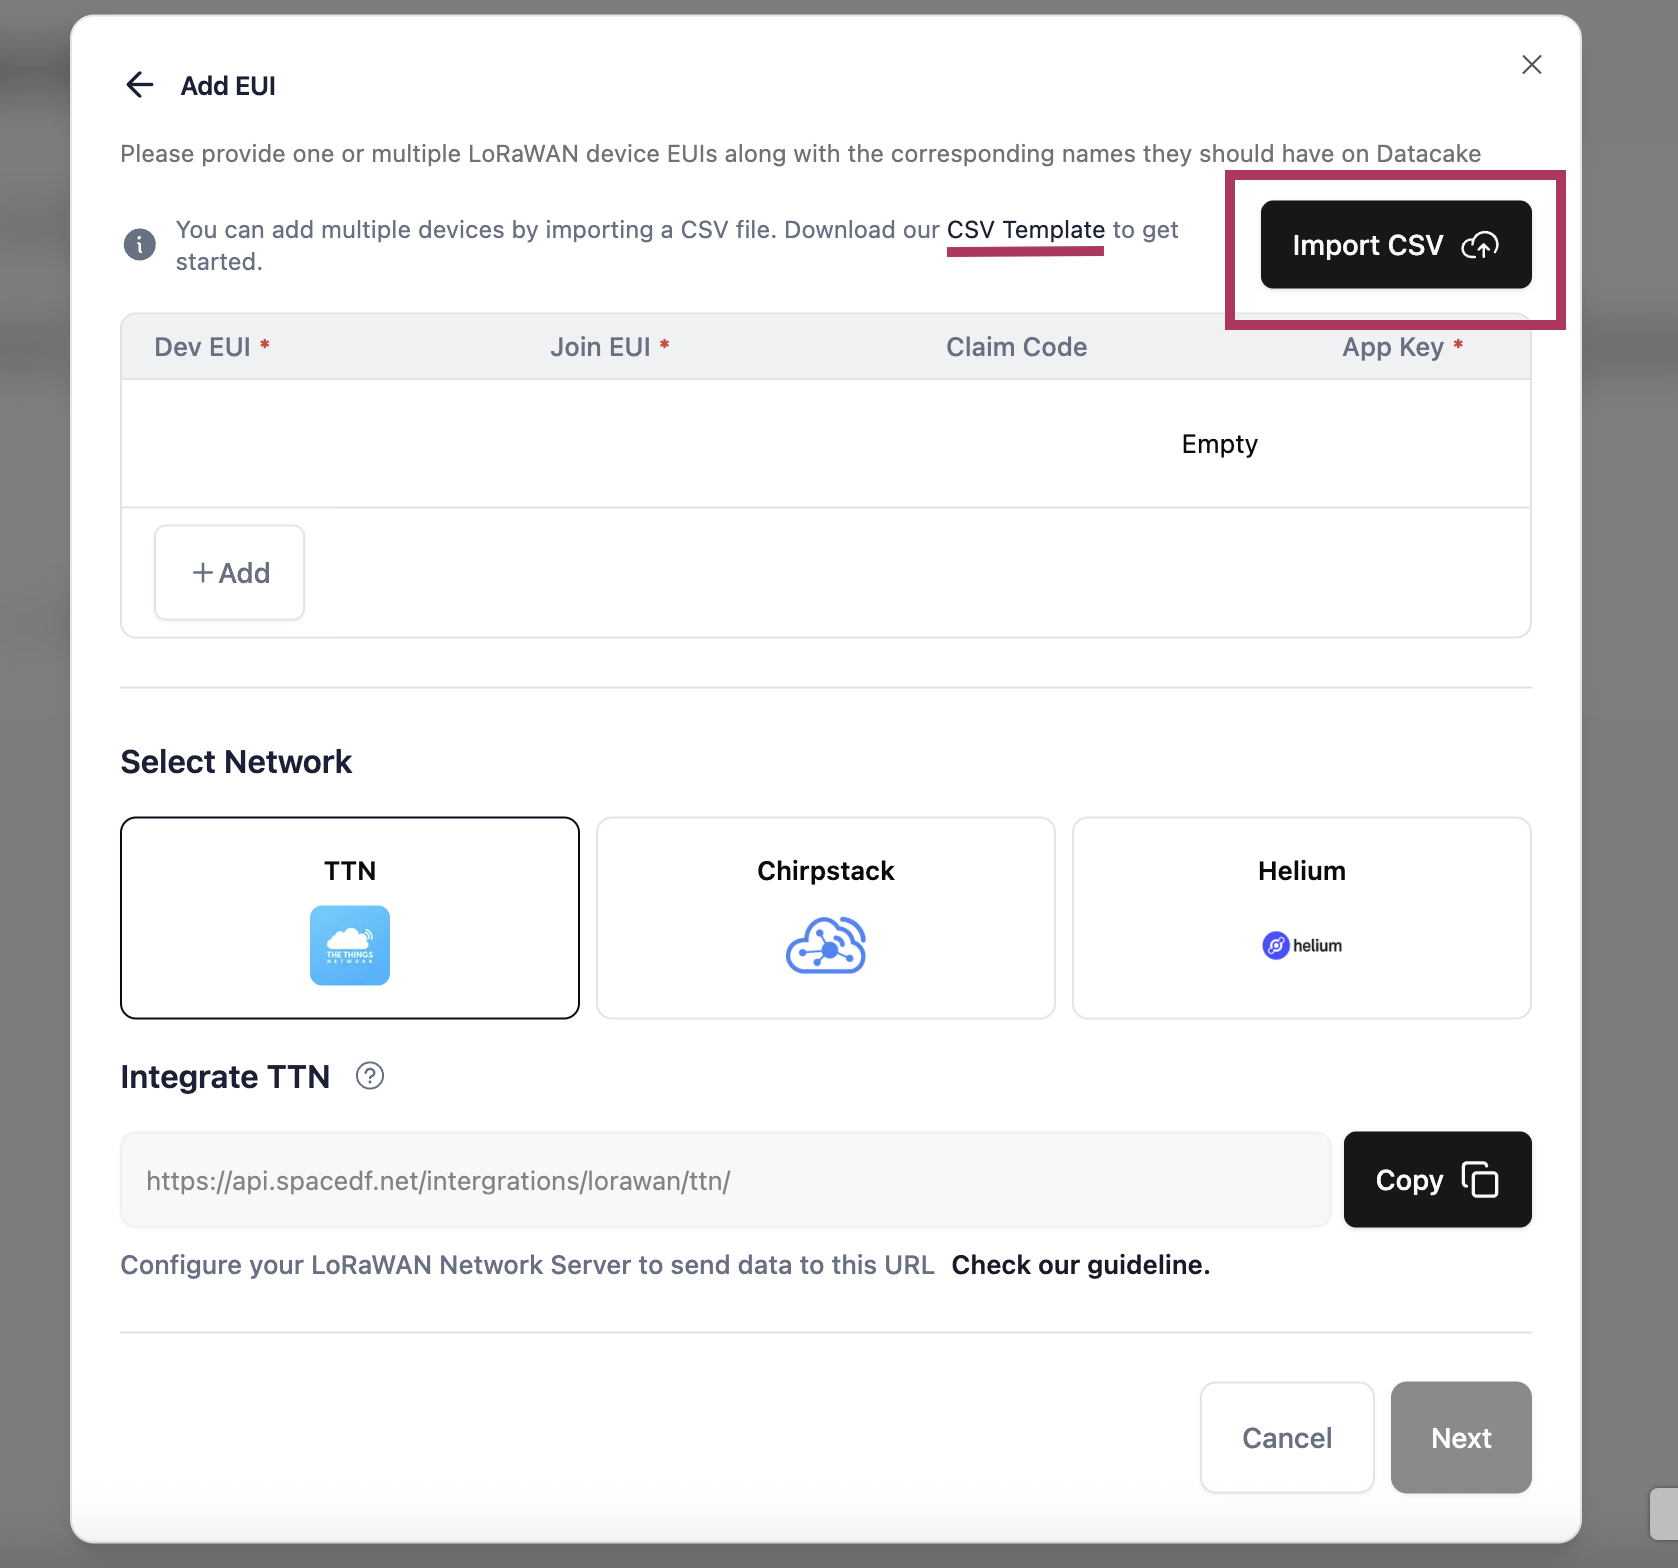
- Upload CSV: Click Import CSV and upload your prepared file
- Configure Settings: Enable Public Device Status if desired
- Select Network: Choose TTN, ChirpStack, or Helium
- Import Devices: Click Next and wait for all devices to be processed
👉 Important: Ensure all device entries follow the required format. Devices will appear in the Inventory tab as Inactive until associated with an organization space.
4. Access Your Space
Each organization has its own Space - a dedicated environment for device monitoring and management. Before you start accessing your Space, we recommend taking a quick look at what Space and Digital Twin are. This will help you understand and move through the next steps more smoothly.
👉 Learn more: What is a Space? · What is a Digital Twin?
SpaceDF offers multiple ready-to-use templates designed for different use cases. Each template comes with its own Space experience and onboarding flow. Select the template below that matches your setup to continue accessing your Space.
5. Add Devices to Your Space
After accessing your Space, add devices from your inventory for monitoring and management.
👉 Note: The device must already exist in the Inventory. If you try to add a device that isn’t in the Inventory, you’ll receive an error notification.
Adding Devices
- Open Device List: Check the “Device” option to display the full device list
- Click Add Device: Use the “Add Device” button at the top-right
- Choose Add Method: Select your preferred method:
Auto (QR Code Scan)
- Allow camera access on your device
- Scan the QR code on your device
- Enter the Device Name
- Click Add Device and Done

Manual Entry
- Enter the DevEUI and Device Name
- Click Add Device and Done
- Device will appear in your device list
6. Start Tracking
Once devices are added to your Space:
- Monitor Real-Time Locations: View device positions on the live map
- Access Device Details: Click on any device to see detailed information and telemetry
- Manage Device Settings: Edit device names, delete devices, or adjust configurations
- Track Device History: View location history and movement patterns
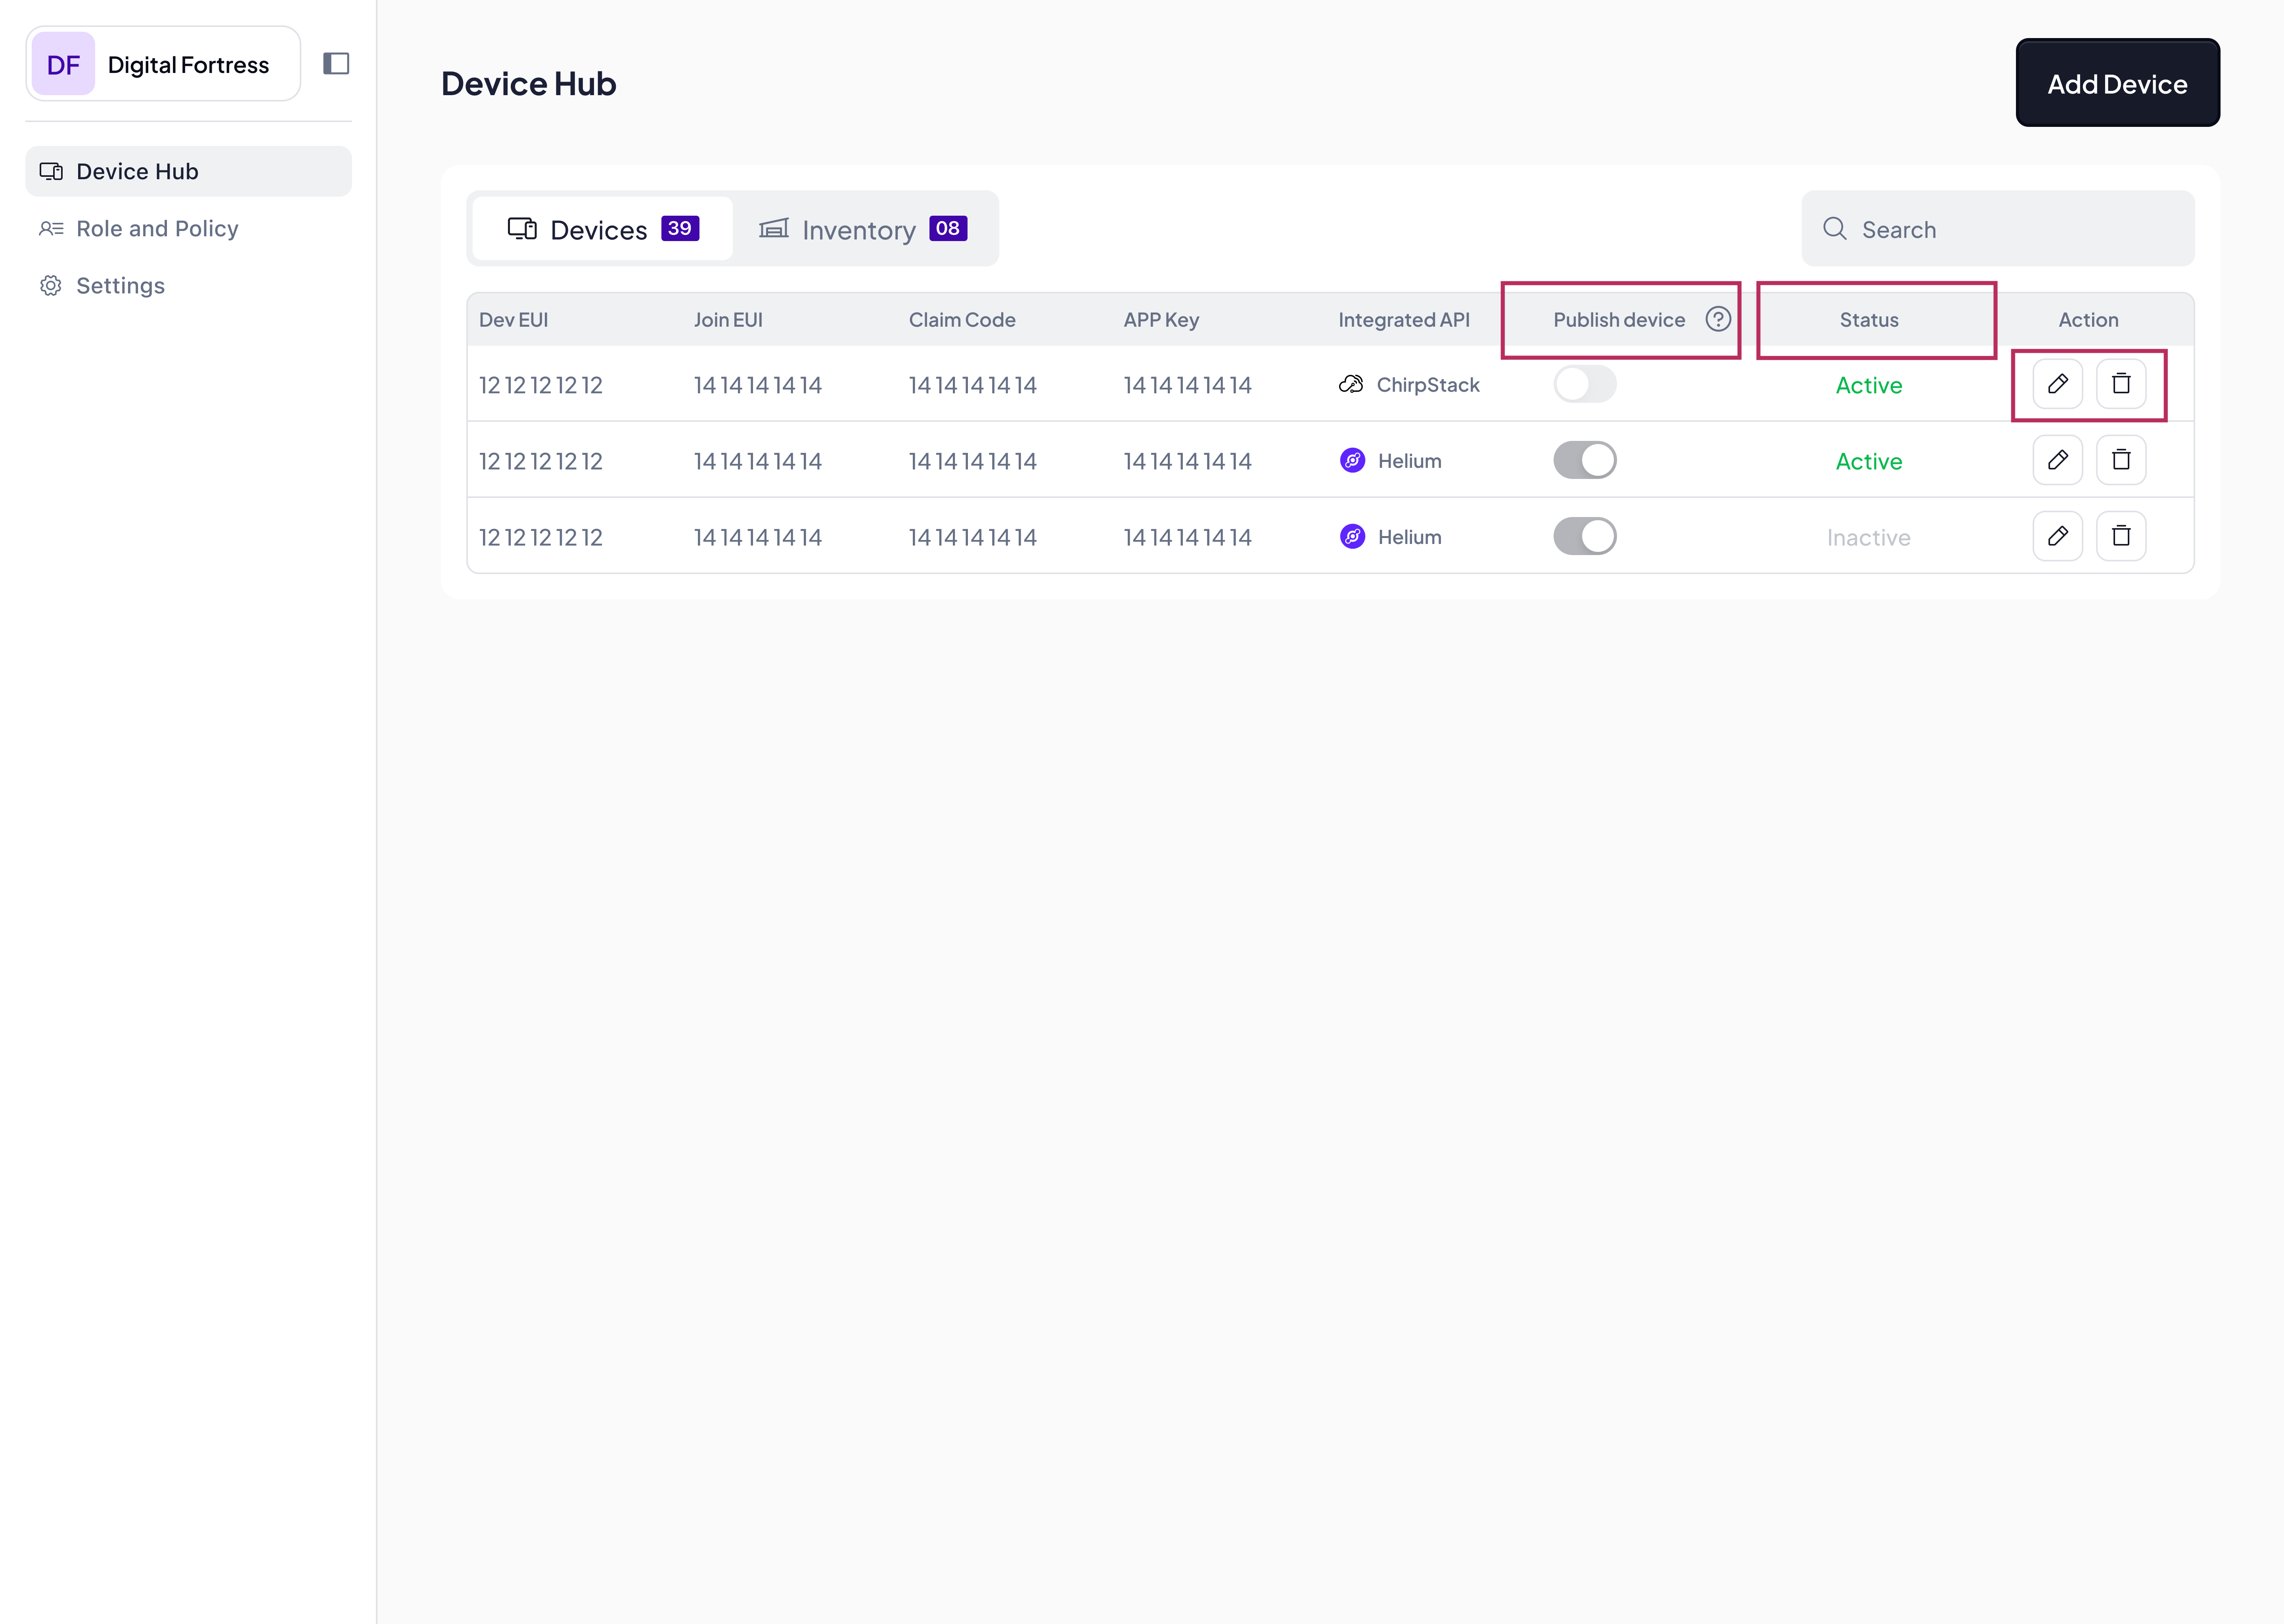
Device Management
From the Inventory/Devices tabs, you can:
- Edit Device Information: Click the edit (✏️) icon to update device details
- Delete Devices: Use the delete (🗑️) icon to remove devices from inventory
- Toggle Public Visibility: Control whether devices are visible to all organization users
- Monitor Device Status: Devices become Active when associated with a Space
Next Steps
Now that your devices are set up and tracking:
- Explore Dashboard Features: Learn about dashboard customization

- Set Up Organizations: Configure user roles and permissions
- Configure Spaces: Create multiple spaces for different locations
Need Help?
- Community Forum - Ask questions about the onboarding process
- Discord Server - Get real-time help from the community
- Device Documentation - Detailed device management guides
- Troubleshooting - Common setup issues and solutions