Spaces & Members
What is Space?
A Space is a workspace within an Organization where devices are actively used and monitored in real-world use cases. This is where you track device status, view data, and interact with devices through a visual dashboard.
An Organization can contain one or multiple Spaces.
Access to your Space
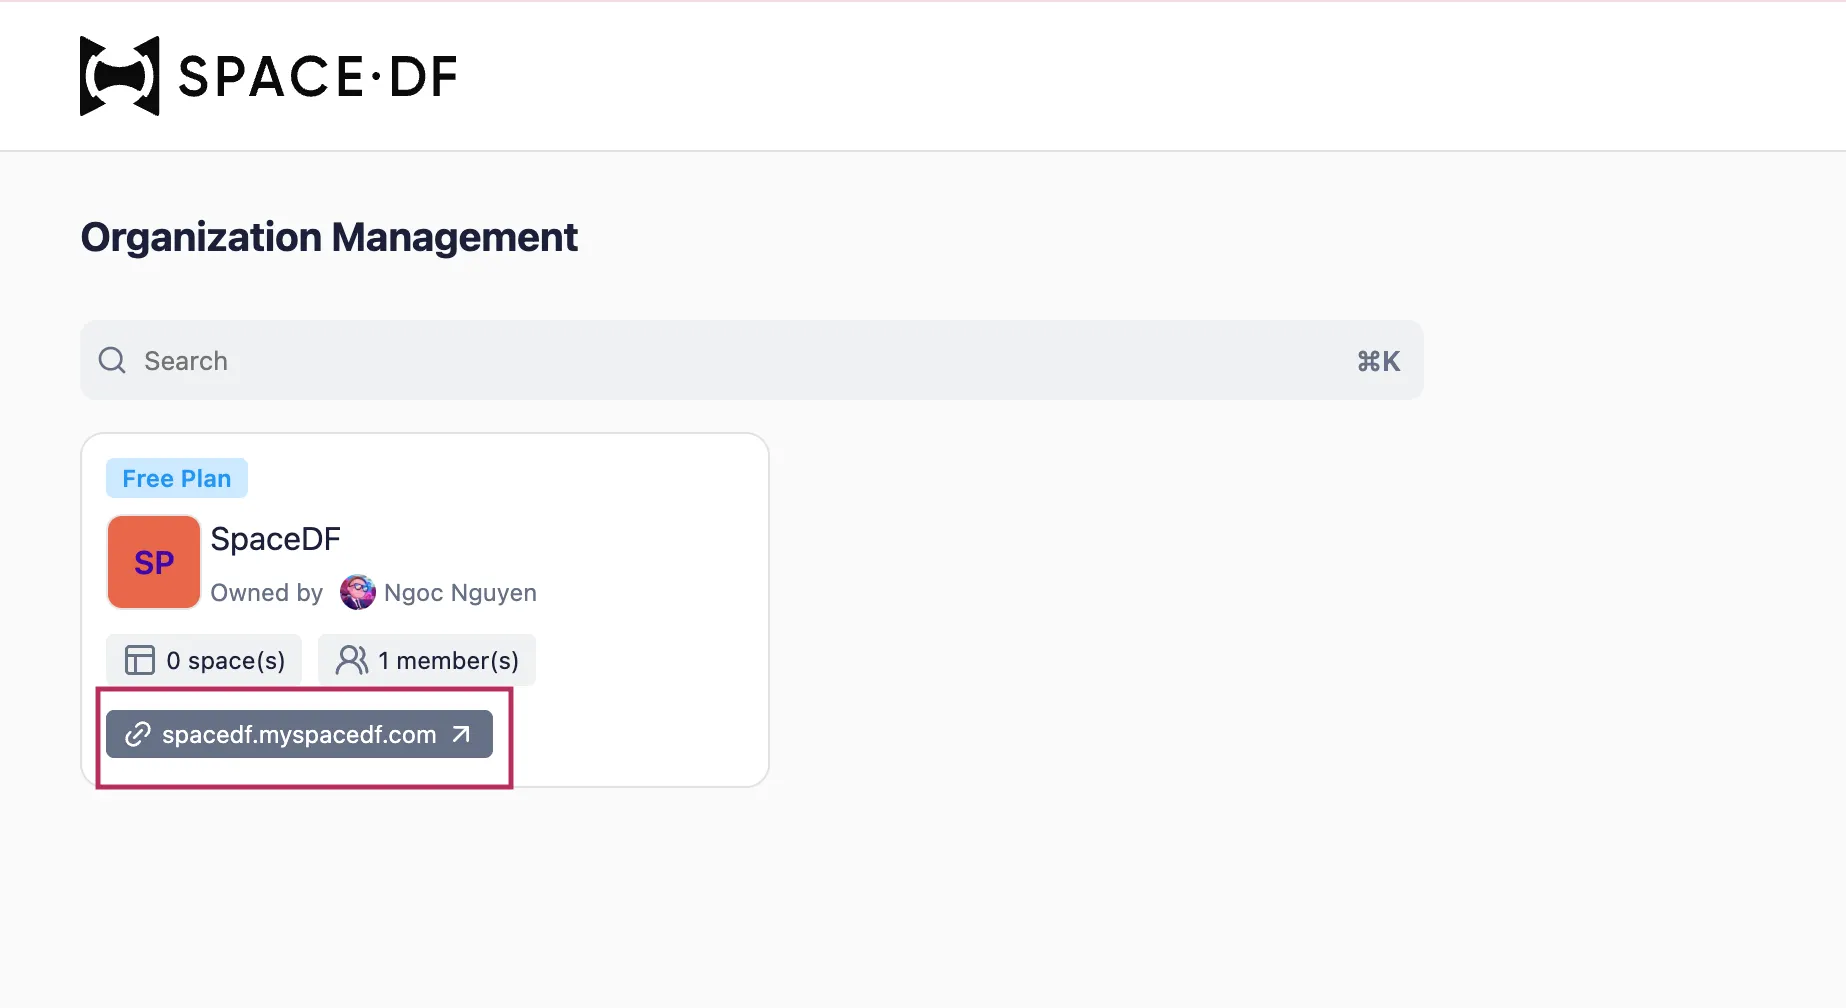
When an Organization is created, a Default Space is automatically generated. You can access the Default Space by clicking on the Slug URL on the Organization.
Add More Spaces
Click on the Default Space in the top-left corner of the screen, then select “Create New Space.” Add an image and name for the new Space, then click Create Space. All created Spaces will be displayed as a list and can be accessed by clicking on the Space name. This area also allows you to quickly switch between Spaces using the options menu or keyboard shortcuts.
If you have more than one workspace, or you have been invited into a workspace by another user, you can switch to other workspaces at any time using the Switch Space.
When a user switches to another Space, the Dashboard automatically updates to show data for the selected Space. This allows users to monitor different locations or projects while keeping data separate.

Change Space Information
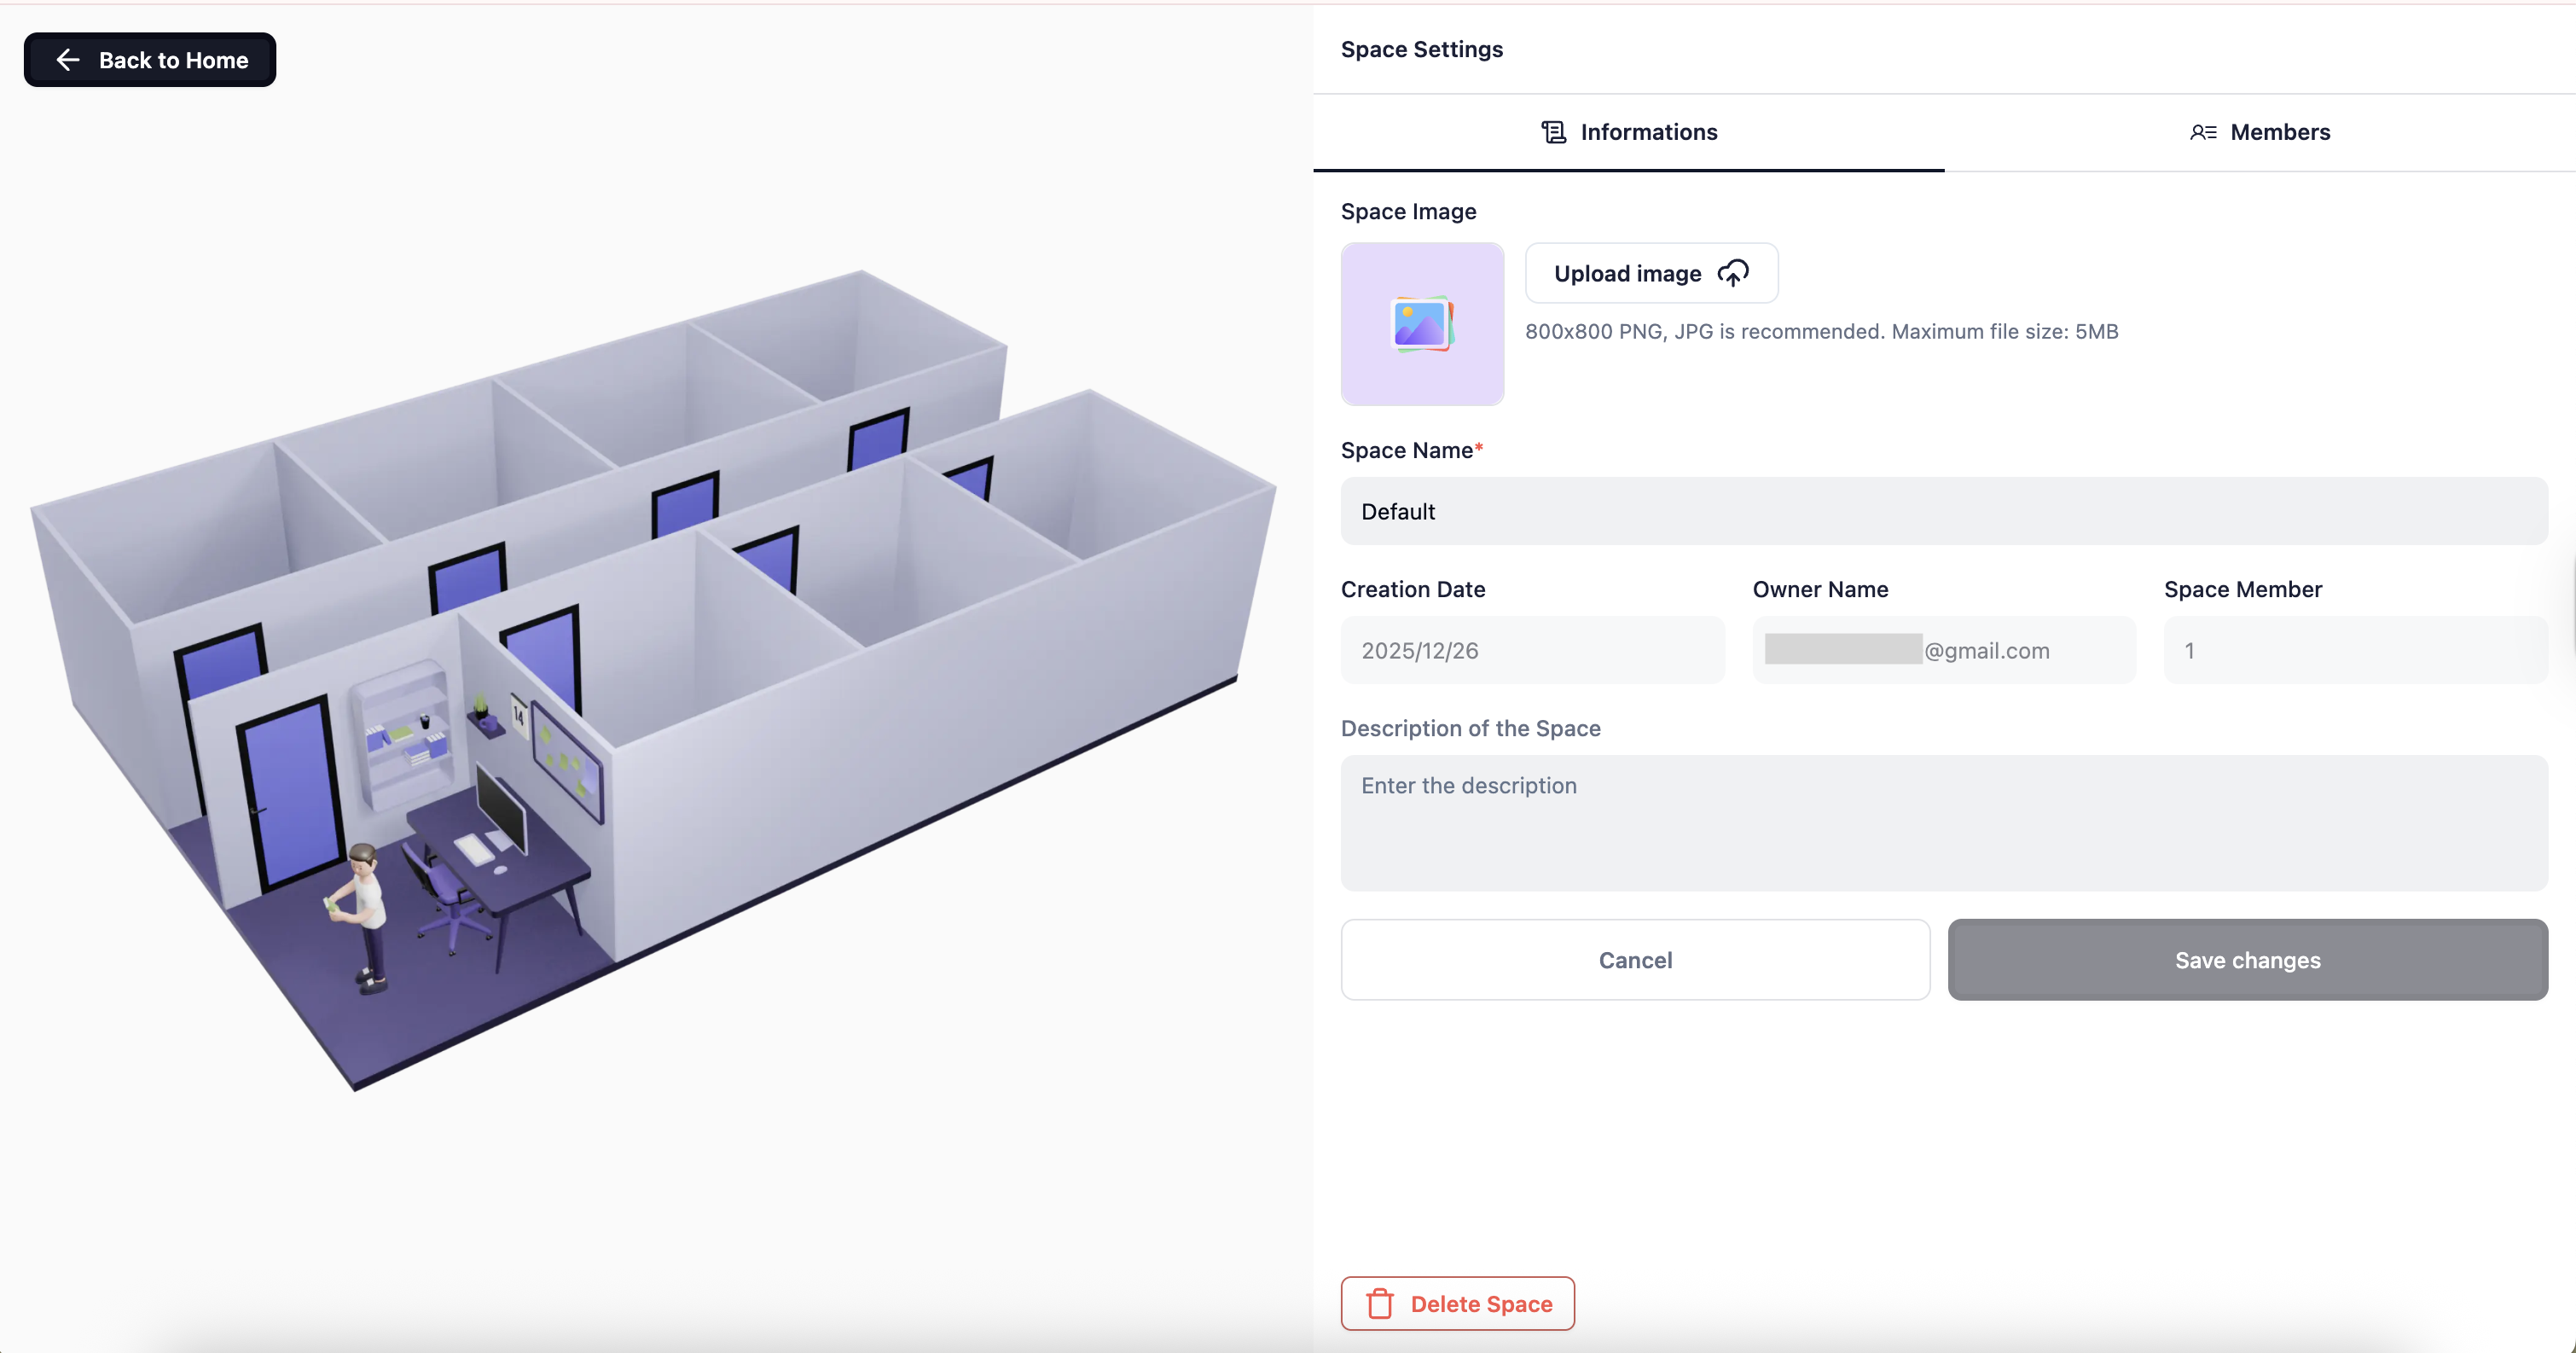
From the Sidebar, click Space Settings. In the Information tab, you can upload or change the Space image, add, update, or review details such as the Space name, description, creation date, and members.
Digital Twins
A Digital Twin is a virtual representation of an IoT physical device within SpaceDF. It lets you monitor, manage, and analyze device data in a digital environment. Digital Twins reflect the real-time status, behavior, and data of each device, allowing you to visualize how your devices operate.
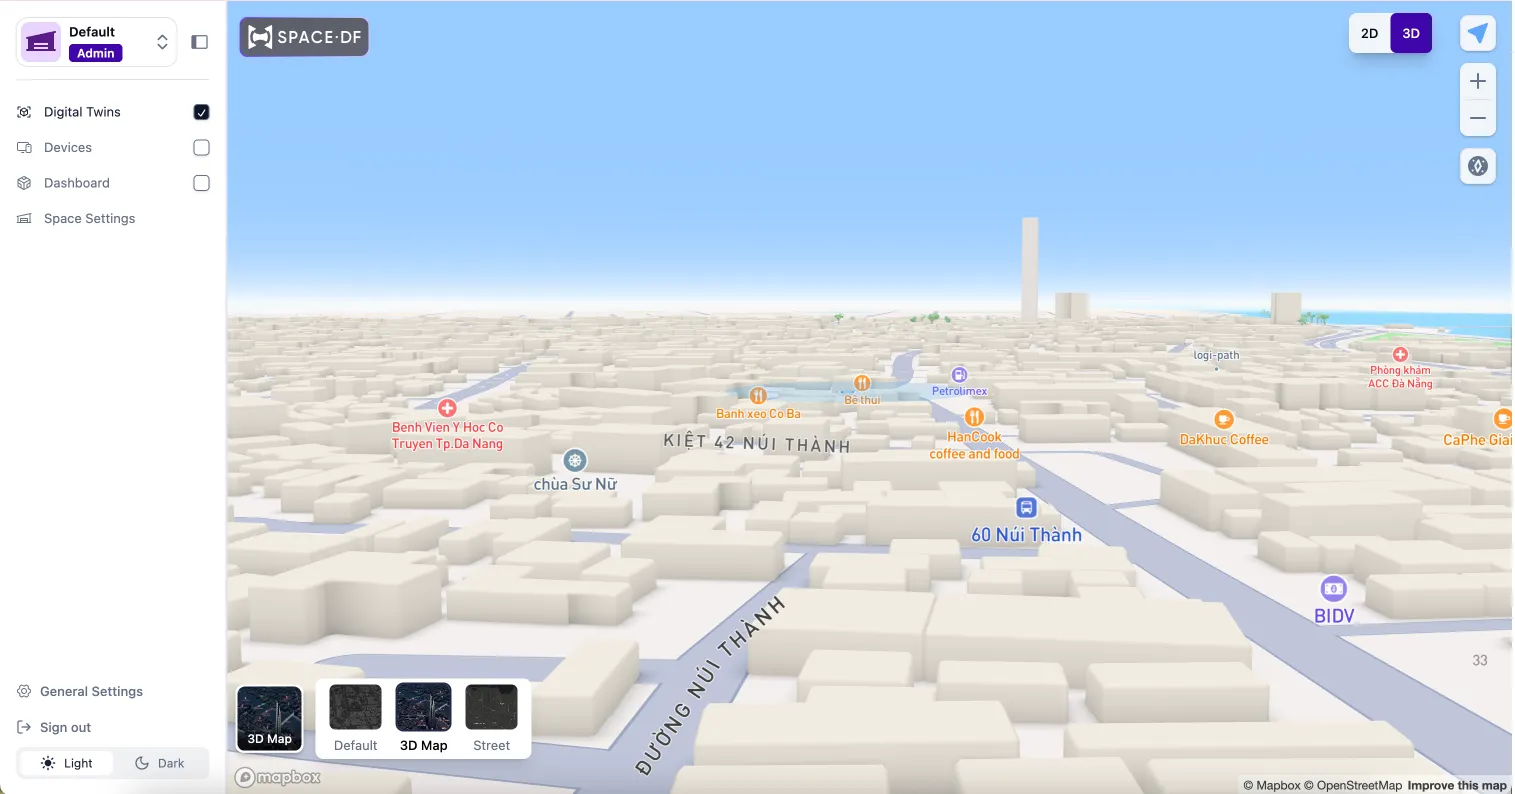
When you access a Space, the Digital Twins view will be displayed by default.
In case no devices have been added yet, you will see the map view with options for toggling between 2D / 3D views, as well as your current user location.
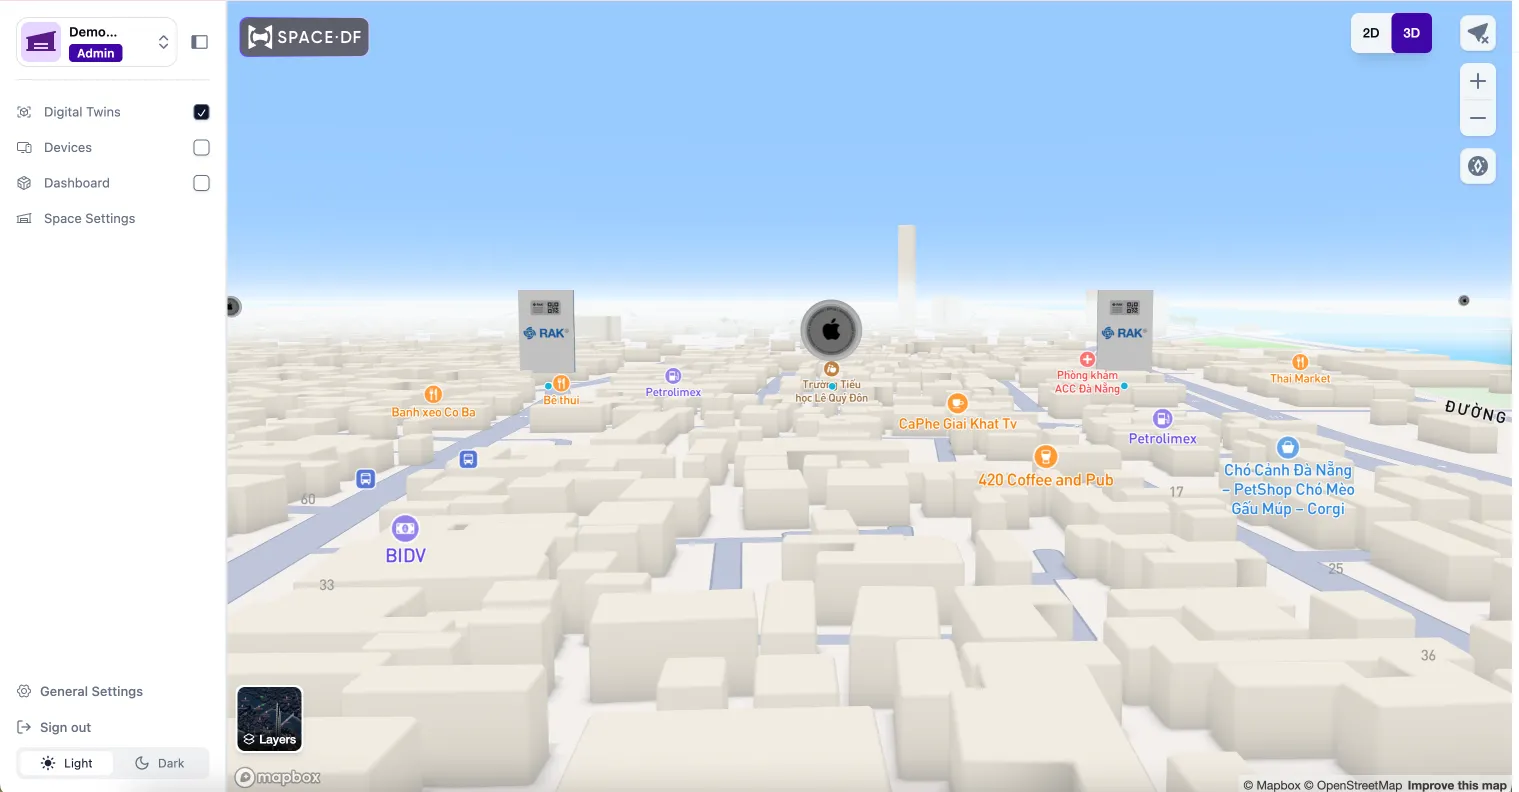
Once you have completed adding devices, your devices will be visually represented on the Digital Twins interface. You can:
- Monitor device status in real time
- View device locations and groupings on the map
Dashboard
The Dashboard is one of the primary overview interfaces of a Space in SpaceDF. Each Space contains exactly one Dashboard, which displays the status, metrics, and activity of all devices associated with that Space.
Enable Dashboard
In the Space, you will see the Sidebar on the right side. This section allows you to select what to display, such as Digital Twins, Dashboard, or Devices. Tick the Dashboard to display the Dashboard section. You can easily collapse or expand the sidebar using the icon at the top.
Create New Dashboards
SpaceDF allows you to fully customize your Dashboard, giving you the flexibility to design it according to your personal or business needs.
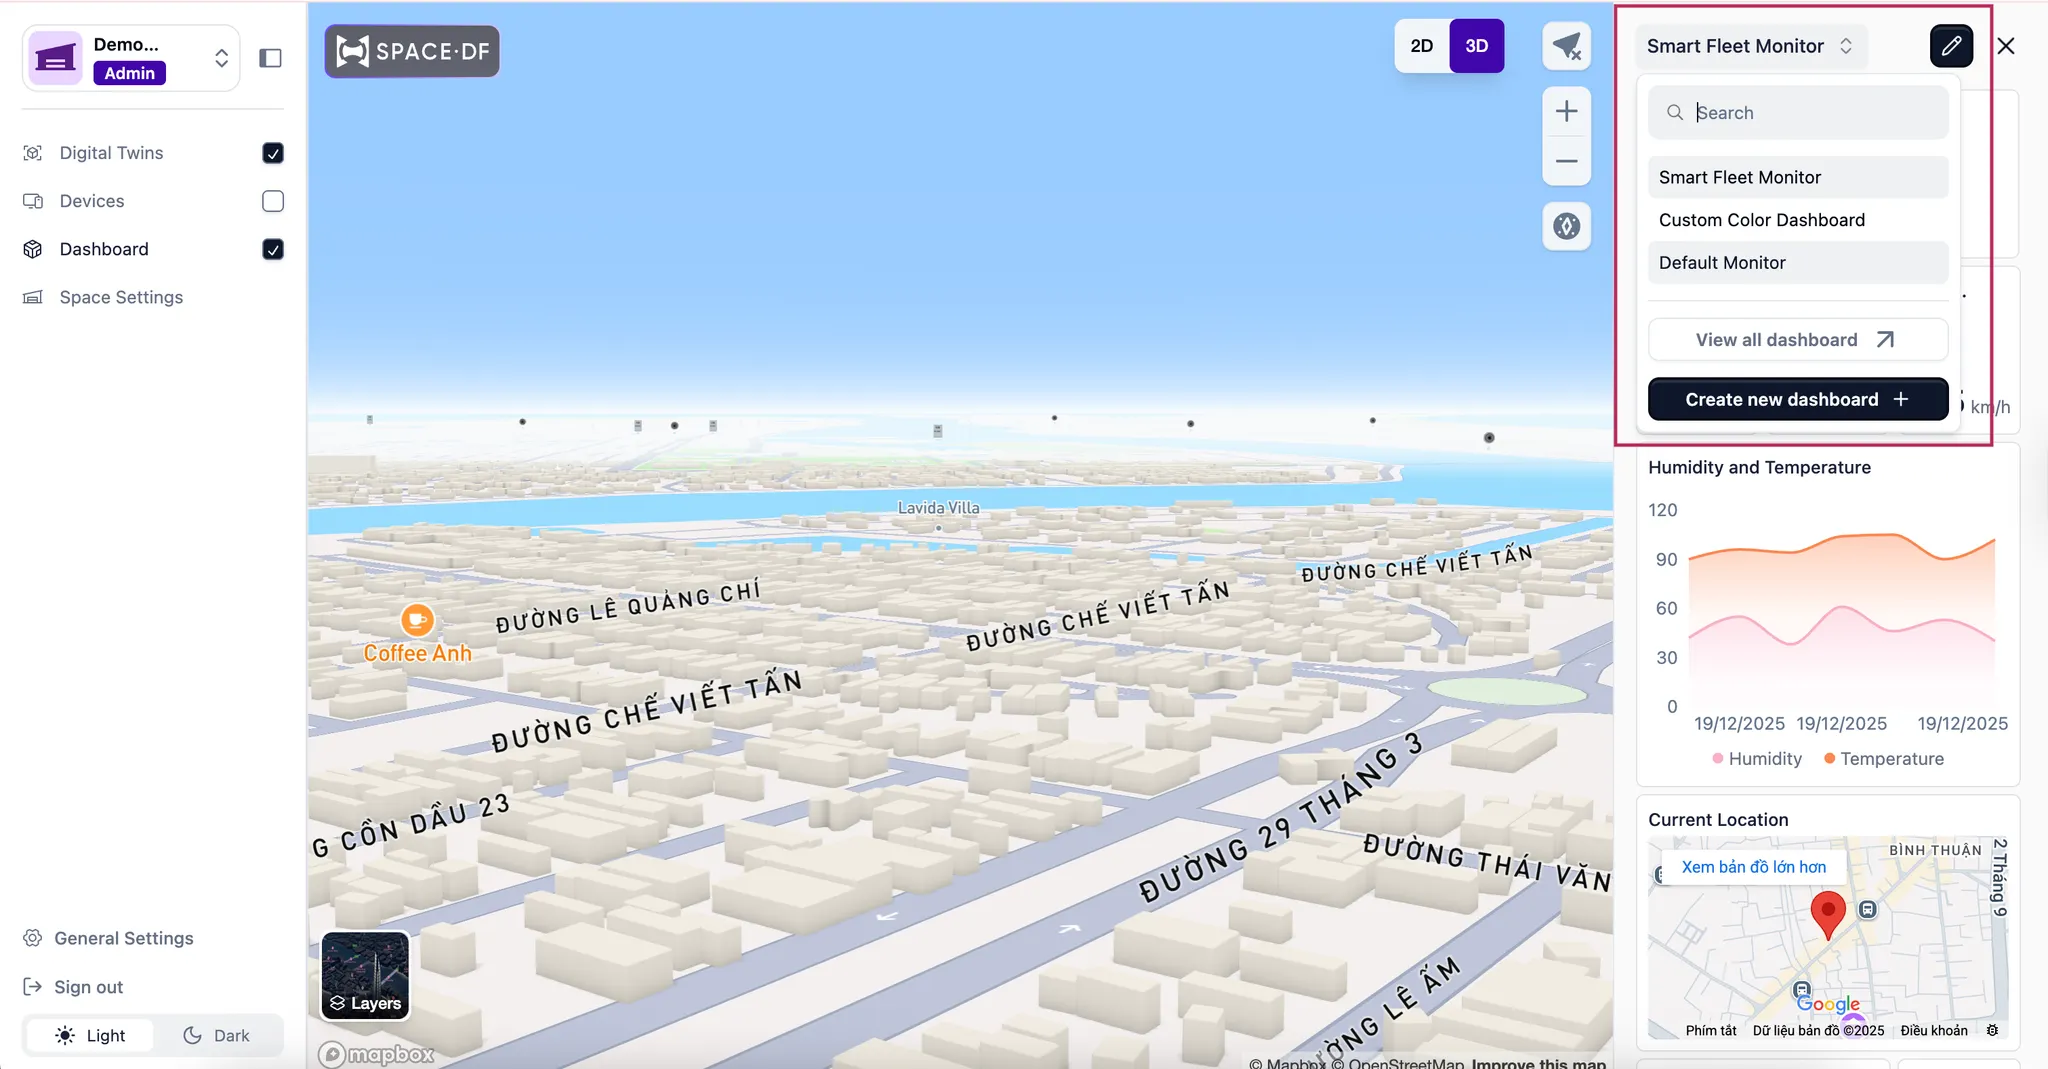
For new users, you need to create a new Dashboard to add widgets. Click Selected Dashboard at the top of the Dashboard page, then select Create a new dashboard.
Enter the Dashboard name and click Create Dashboard
The newly created Dashboard will be saved automatically. Click the pencil icon, then select Add Widget to start adding and customizing widgets on your Dashboard.

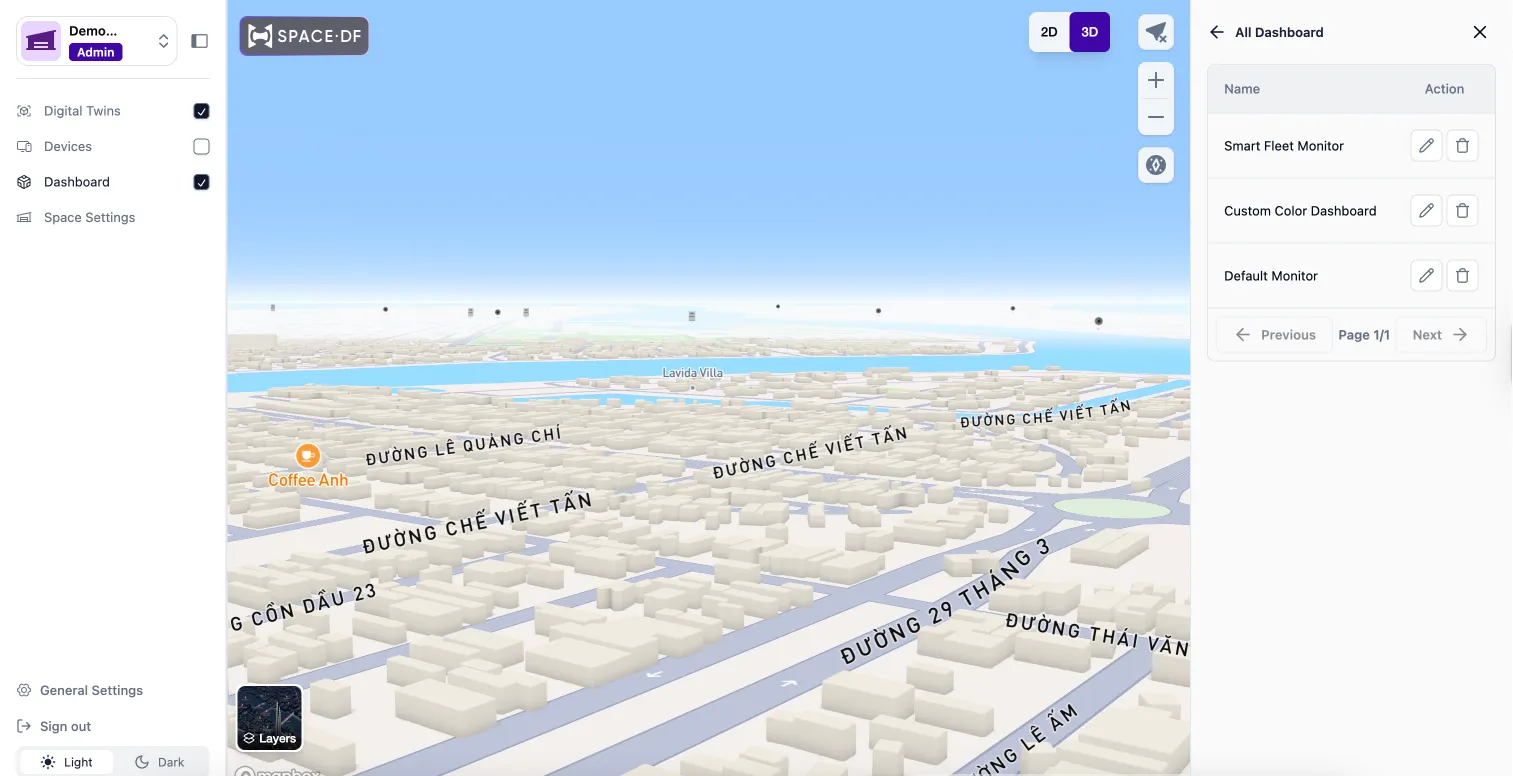
You can create multiple Dashboards within the same Space to display different types of information or layouts. Click the Dashboard name to easily switch between existing Dashboards. You can also rename or delete Dashboards by selecting View all dashboards.
Scope and Access
A dashboard belongs to a single Space. All information displayed on the Dashboard, including device status, metrics, and events, is scoped to the selected Space and is not shared across other Spaces.
Only users who have access to a Space can view its Dashboard. User access is controlled by roles at the Space level when an admin invites or has a URL link to the Space. If a user does not have permission for a Space, they cannot see its Dashboard or data.
Widgets
A Widget is a core building block of a Dashboard in SpaceDF. Widgets are used to present device data, system metrics, and controls in a clear, visual, and interactive way within a single Space.
SpaceDF supports multiple widget types to cover different monitoring and control, including:
- Gauge – Displays key metrics in a compact visual format for quick status checks
- Chart – Visualizes real-time or historical data trends over time
- Table – Organizes structured data for easy comparison and detailed review
- Value – Highlights a single important metric or data point
- Map – Shows device locations and spatial information in a map view
- Switch – Enables direct control of supported devices from the Dashboard
By using different widget types together, you can build Dashboards that show both an overall view and detailed information, helping you focus on what matters most.
Configure Widget Information
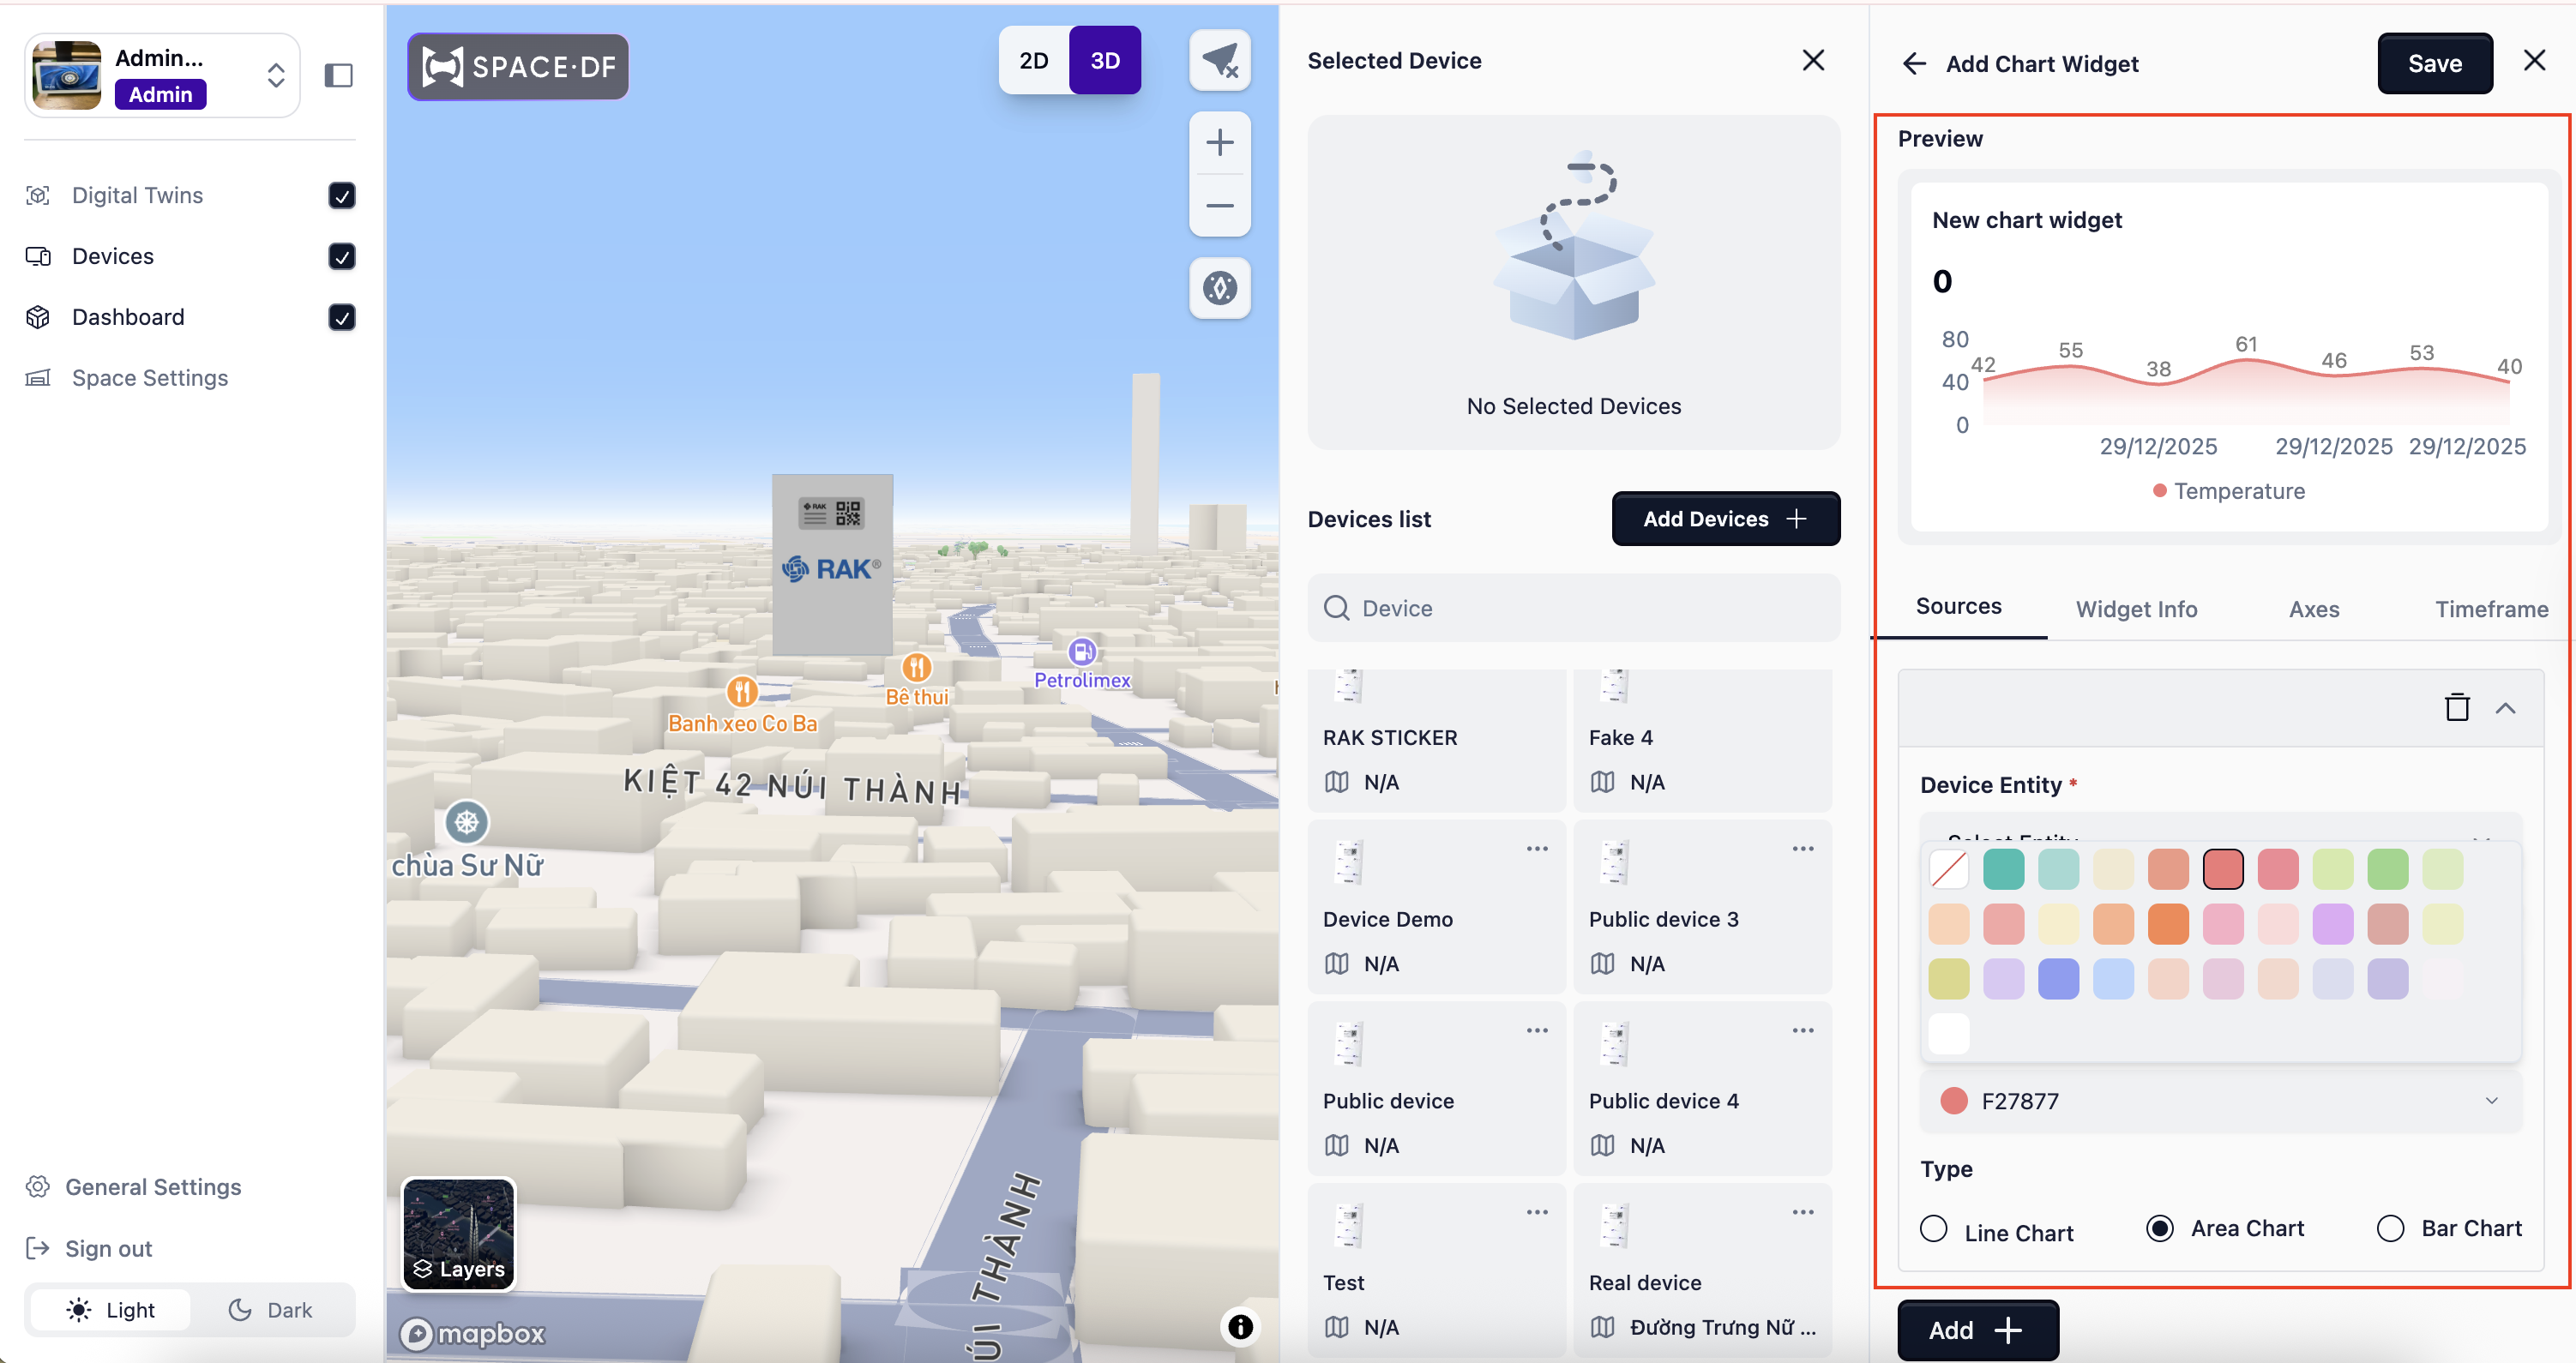
Each Widget allows you to customize and configure key settings such as Sources, Widget Info, Axes, and Time frame, enabling the widget to display data more accurately and in a more meaningful, visual way based on your requirements.
You can also easily choose colors for different metrics to match your requirements and brand style.
Arrange & Resize
Widgets can be arranged by dragging them to different positions and resized by clicking and dragging the handle at the corner of each widget.
With this level of customization, you can easily create multiple Dashboards using widgets tailored to the needs of different user groups and use cases.
Device
Device in Space site represents the physical IoT devices that belong to a Space. Once a device is added, it becomes available across the Space for monitoring, visualization, and control through Dashboards and Digital Twins.
Follow the Getting Started guide to learn how to add a device to a space.
Note: Devices added to a Space must already exist in the Inventory of the Device Hub to be successfully associated.
Enable Device List
The Device List is part of a Space and serves as the area where you can add devices and manage devices that have been associated with the Space.
From the sidebar, select Device List to easily show or hide this section. You can also drag to resize the panel to adjust the view as needed.
Device Detail
With just one click on a selected device, the Device Details view will be displayed. At the same time, the map will automatically center on the selected device.
On the Dashboard (once widgets have been added and configured), device data will also be displayed visually through the configured widgets.
Alternatively, you can click on any device directly on the map, and the Device Details view will be shown automatically.
From the Device Details page, you can view the following information:
- Device Status
- Device Name – The display name of the device within the Space
- DevEUI / Device ID – The unique identifier of the device
- Device Type – The type or category of the device
- Assigned Space – The Space where the device is currently associated
Here, you can easily edit the device information or remove the device from the Space.
Trip History
The Trip History section provides a timeline view of a device’s movement history within a Space. Each trip represents a recorded journey of the device over a specific period of time.
When you click on a trip in the Trip History, you can view the timeline details.
In the map view, the trip route is visualized as a path, allowing you to clearly see the distance traveled and the movement pattern of the device during that trip.

Member (User)
What is the Member?
A Member is any user invited to join an Organization by an Admin.
Roles available for Members:
- Admin: Full access to manage Spaces, devices, users, and settings
- Editor: Can manage devices and dashboards but cannot modify organization-level settings
- Viewer: Read-only access to view data and dashboards
Invite a new Member
Note: Inviting members is only available to Admin accounts. Other members can access the Members section in Space Settings, but any actions related to inviting users or assigning roles will fail and cannot be completed.
To add members and assign roles:
-
Open Member Settings
Go to Space Settings from the sidebar.
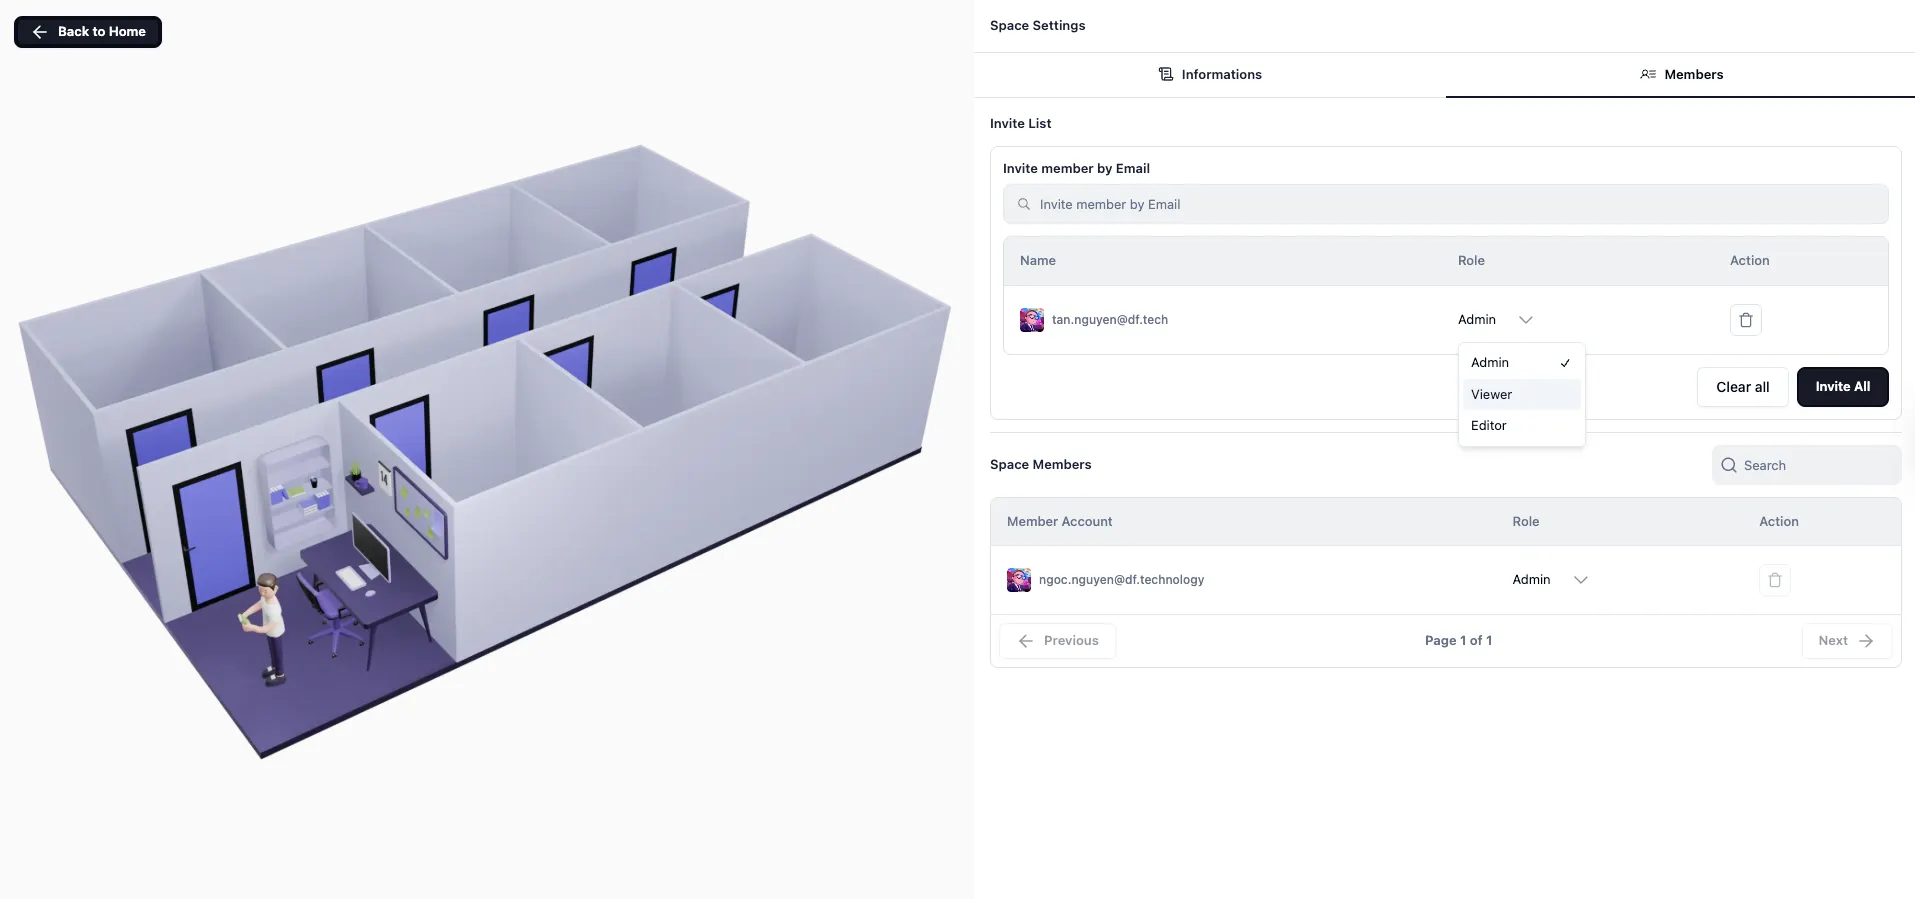
Select the Members tab.
This section allows you to invite users, assign roles, manage existing members, and remove members from the Space.
-
Invite Members
Enter the email address of the person you want to invite into the input field.
Press Enter or click the suggested email. Invited emails will appear in the invitation list.
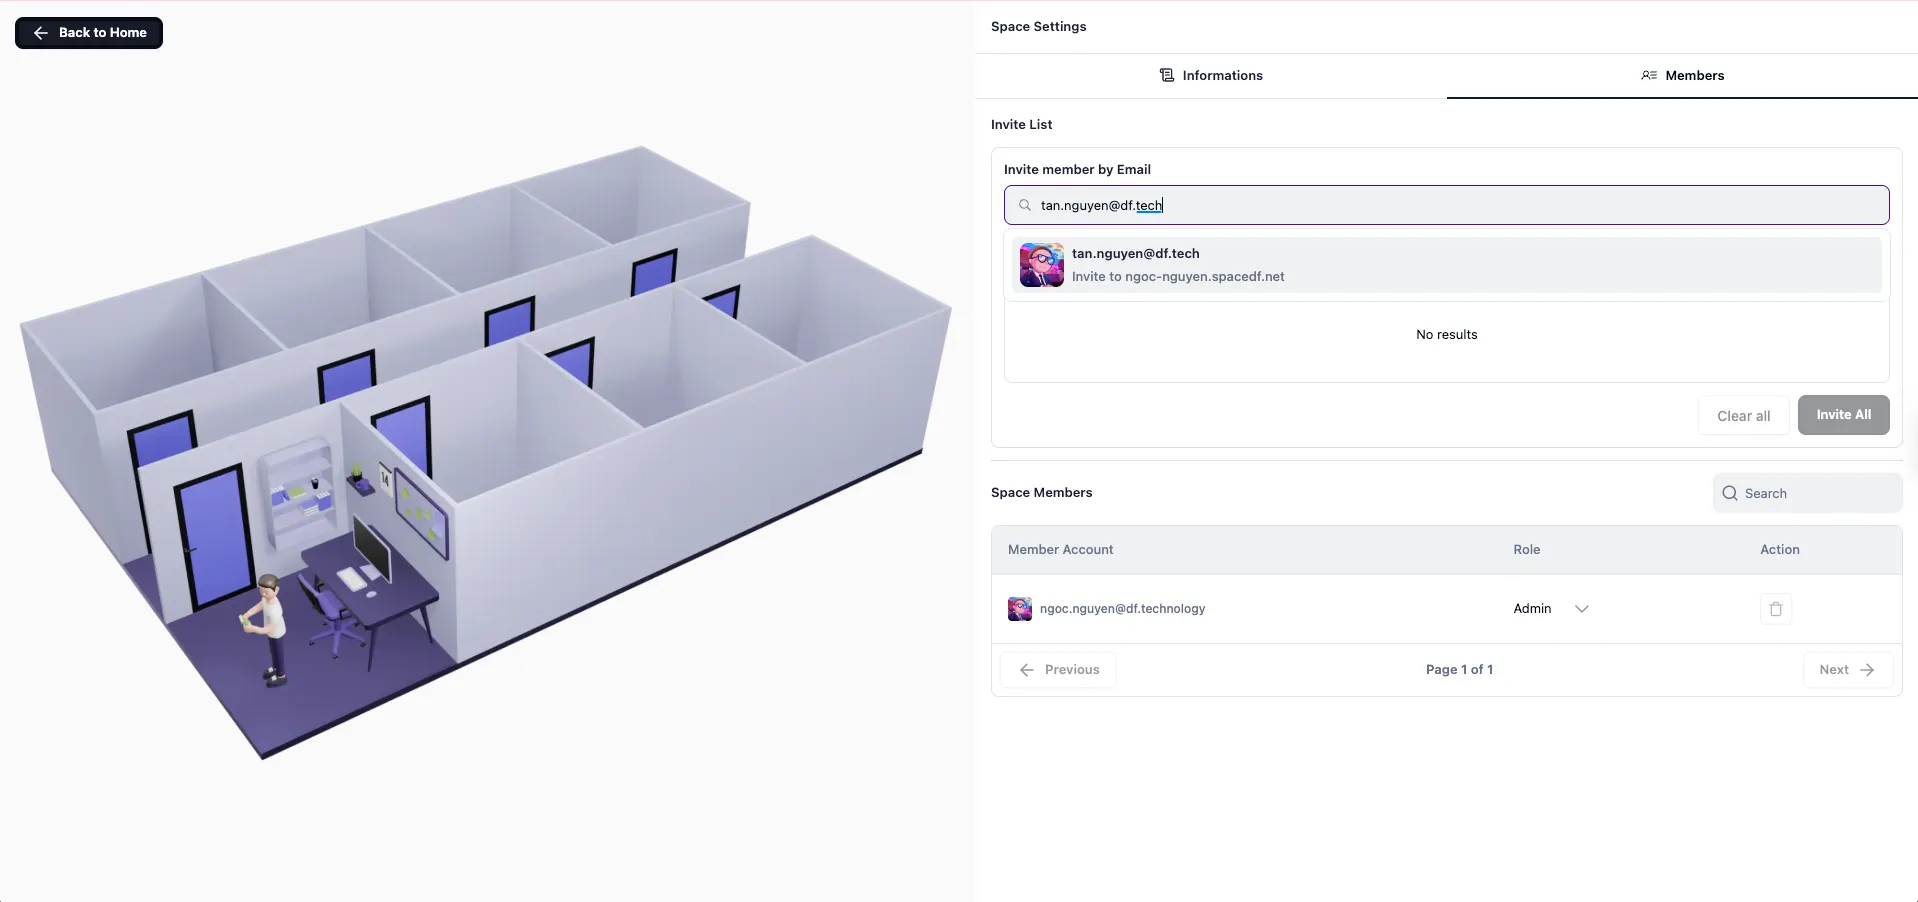
- Set a Role for this member
- You can invite multiple members at the same time
- Click Invite All to send invitations to everyone in the list
- Click Clear All to remove all emails from the list